
The hard drive is an essential component of any computer, storing your operating system, files, and data. There may come a time when you need to remove a hard drive from your PC, either to replace it with a new one or to salvage data from a non-functional drive.
Regardless of the reason, it is crucial to follow proper procedures to avoid data loss or damage to your computer. In this blog post, we will guide you through the steps to safely remove a hard drive from your PC.
Back up Your Data
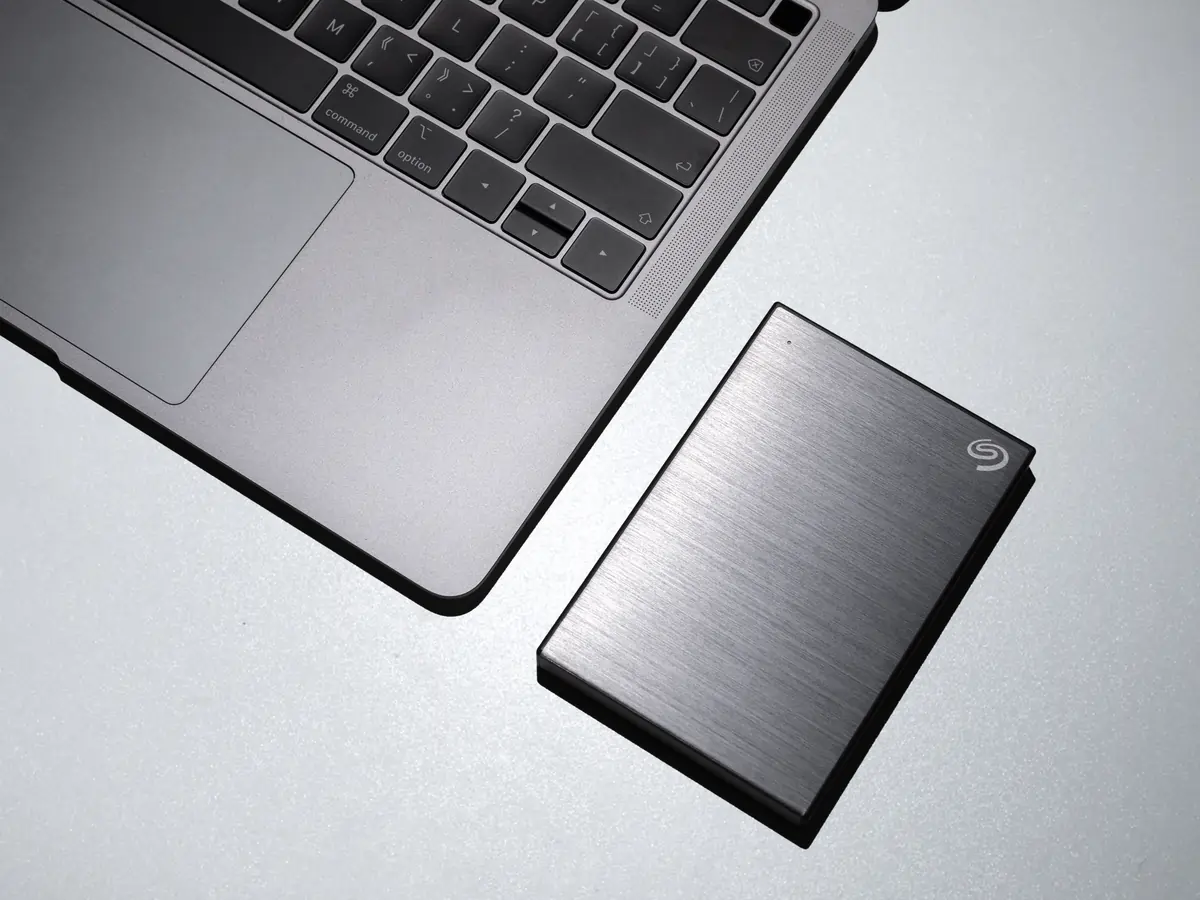
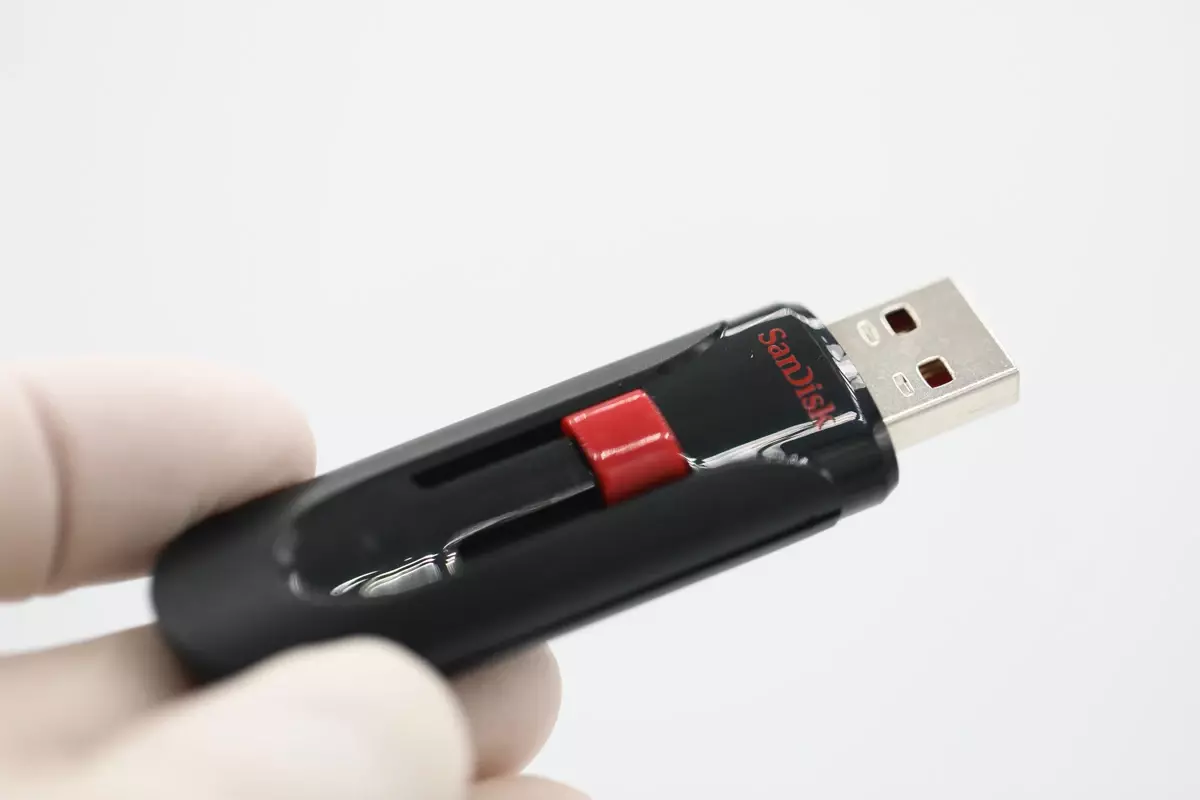
Before you begin the process of removing a hard drive, it is crucial to back up any important data stored on it. This step ensures that even if something goes wrong during the removal process, your valuable files will remain safe. You can back up your data by transferring it to an external hard drive, a cloud storage service, or another computer.
You Can Find Instructions on How to Back Up Your Data before Hard Drive Removal from PC:
Shut Down and Unplug your Computer
To avoid any electrical mishaps or potential damage to your computer, it is essential to shut down your PC properly. Save all your work and close any running applications before proceeding.
Click on the “Start” button in the bottom-left corner of your screen and select “Shut Down” from the options. Wait for your computer to complete the shutdown process. Once your computer is fully shut down, unplug it from the power source. This step ensures that there is no power running through the system, reducing the risk of electric shock or damage to components.
Remember, it is important to wait for the computer to shut down completely before unplugging it. Rushing this step can lead to potential issues and possible data loss. Allow your computer enough time to shut down properly.
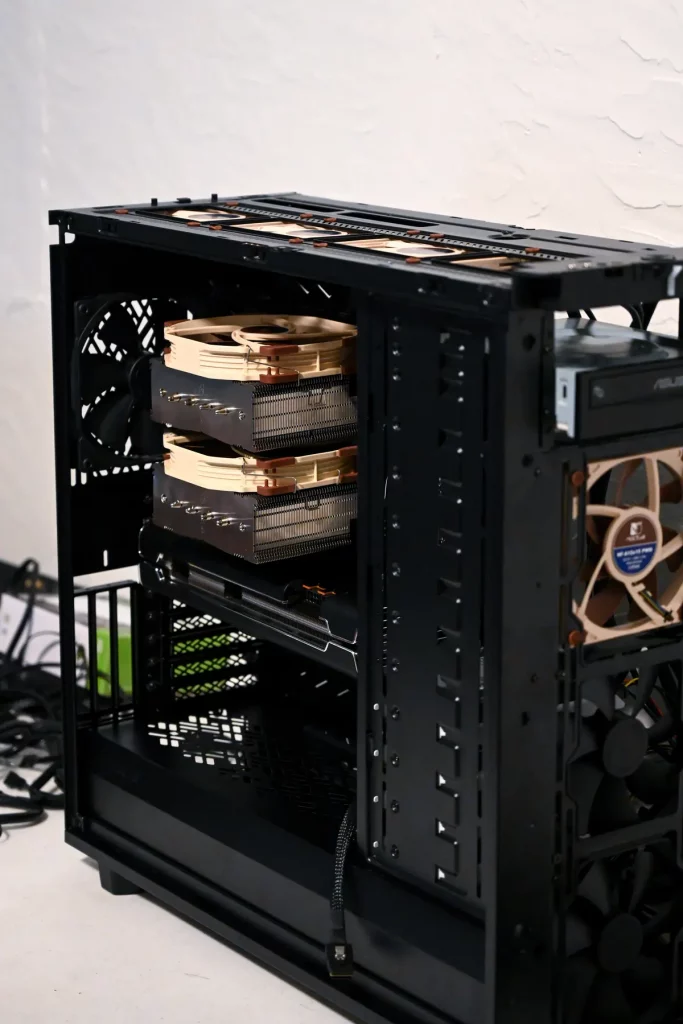
Open the Computer Case
To access the hard drive, you will need to open your computer case. The process may vary depending on the type of case you have.
Most cases have screws or latches that hold the side panel in place. Refer to your computer’s manual or search online for specific instructions on how to open your particular case model.
Start by finding the screws or latches securing the side panel of your computer case. Use a screwdriver or your hands to remove the screws or release the latches. Keep the screws in a safe place to avoid losing them. Once the side panel is free, gently slide or lift it off, exposing the internal components of your computer.
Be cautious when removing the side panel to avoid damaging any internal components or cables. Some cases may have sharp edges, so take care not to cut yourself during this process.
Place the side panel in a secure location where it won’t get damaged or cause any obstructions.
Disconnect the Cables
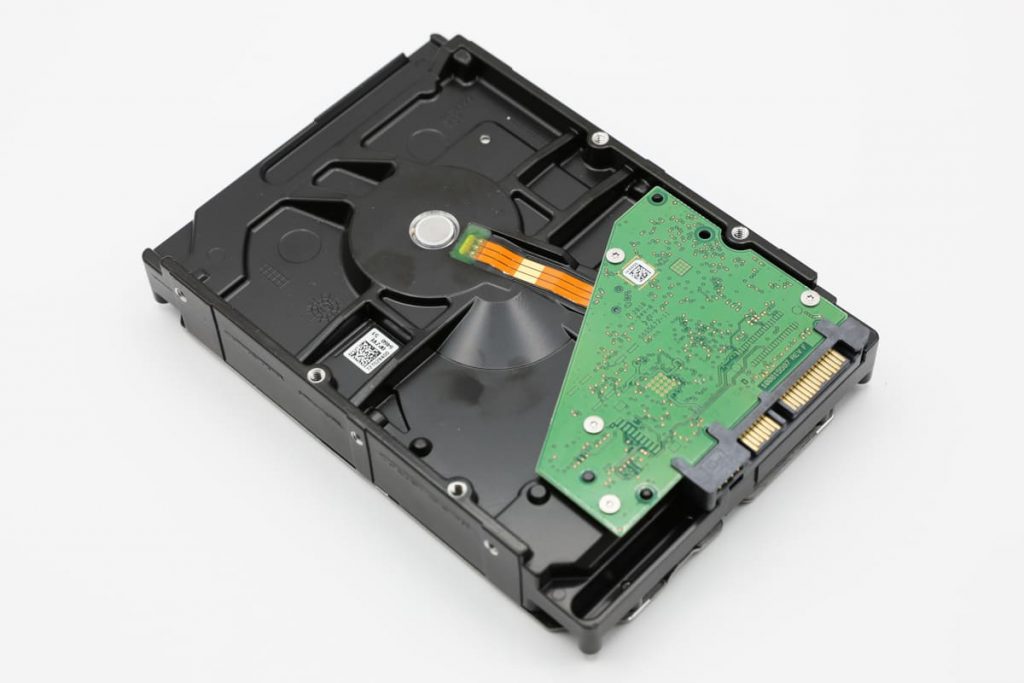
Before removing the hard drive, you must disconnect the cables connected to it. The hard drive typically has two cables attached to it: a power cable and a data cable. The power cable is wider and usually has a white connector, while the data cable is narrower and often has a blue connector.
Identify the cables connected to your hard drive. Start with the power cable, which provides electrical power to the drive. Gently pull the power cable away from the hard drive, applying equal force to both sides of the connector. Avoid using excessive force or pulling at an angle to prevent damaging the connector or the socket.
Next, locate the data cable, which enables communication between the hard drive and the motherboard. Similar to the power cable, carefully unplug the data cable from the hard drive by pulling it straight out. Take note of the orientation of the connectors before disconnecting them, as this will help during reinstallation or replacement.
Remove the Hard Drive
With the cables disconnected, you can now remove the hard drive from its mounting location. Depending on your computer’s configuration, the hard drive might be secured with screws or a mounting bracket.
If screws are holding the hard drive in place, carefully unscrew them using a screwdriver. Place the screws in a safe location to prevent them from getting lost. Hold the hard drive with one hand while removing the screws with the other. Once the screws are removed, gently slide or lift the hard drive out of its slot or mounting bay.
If your computer uses a mounting bracket, locate the latch or release mechanism that secures the hard drive in place. Depress the latch or release the mechanism to free the hard drive from the bracket. Once released, carefully slide or lift the hard drive out of the bracket.
Always handle the hard drive with care to avoid any drive damage. Avoid touching the exposed circuitry or any sensitive components. It is best to hold the hard drive by its sides or use an anti-static wrist strap to ground yourself and discharge any static electricity buildup.
Place the hard drive on an anti-static mat or a non-conductive surface to protect it from electrostatic discharge.
Handle with Care
While removing the hard drive from desktop PC, it is essential to handle it with care. Hard drives are delicate and can be easily damaged by static electricity or physical shocks. The internal components of a hard drive are extremely sensitive, and even a minor jolt can cause permanent data loss.
To protect the hard drive from electrostatic discharge, it is advisable to ground yourself by using an anti-static wrist strap. This strap helps dissipate any built-up static electricity in your body, ensuring a safe environment for handling the drive.
If an anti-static wrist strap is not available, you can still take precautions by touching a grounded metal object before touching the hard drive. This action helps discharge any static electricity in your body, minimizing the risk of damaging the drive.
Avoid touching the exposed circuitry or the read/write heads of the hard drive. These components are extremely sensitive and can be easily damaged by physical contact. Hold the hard drive by its sides or use a drive handle (if available) to maintain a secure grip.
Removing a hard drive from your PC may seem daunting, but by following the steps outlined above, you can safely complete the process without causing any damage to your computer or losing valuable data. Remember to back up your data before beginning, shut down and unplug your computer, and handle the hard drive with care.
If you are uncertain or uncomfortable performing these steps, it is always recommended that you seek assistance from a professional data recovery technician. With proper precautions and a little patience, you can successfully remove a hard drive from your PC.
Frequently Asked Questions
Why do I need to back up my data before removing the hard drive?
Backing up your data is crucial because removing a hard drive involves disconnecting cables and physically handling the drive, which can be risky. In case something goes wrong during the removal process, such as accidental damage or data loss, having a backup ensures that your important files remain safe and accessible.
Can I remove a hard drive while my computer is still running?
No, it is strongly recommended to shut down your computer and unplug it from the power source before removing the hard drive. Removing a hard drive while the computer is running can result in data corruption or damage to the drive. Properly shutting down the computer ensures that all processes are closed, and removing the power source reduces the risk of electrical accidents.
How do I know which cables to disconnect from the hard drive?
The hard drive typically has two cables connected to it: a power cable and a data cable. The power cable is wider and usually has a white connector, while the data cable is narrower and often has a blue connector. Gently unplug both cables from the hard drive by applying equal force to both sides of the connectors. Take note of their orientation for reinstallation or replacement.
Can I reuse the hard drive after removing it?
Yes, you can reuse the hard drive if it is still functional and meets your needs. You can reinstall it in the same computer or use it as an external drive by placing it in an external hard drive enclosure. However, before reusing the drive, make sure to format it and perform any necessary partitioning to ensure it is ready for use.
Can I remove a hard drive from a laptop using the same steps?
The steps to remove a hard drive from a laptop can vary depending on the model and manufacturer. It’s recommended to consult your laptop’s manual or visit the manufacturer’s support website for specific instructions. In some cases, removing a laptop hard drive may involve accessing a dedicated compartment or removing the bottom panel of the laptop.
Blogs Related to This Topic
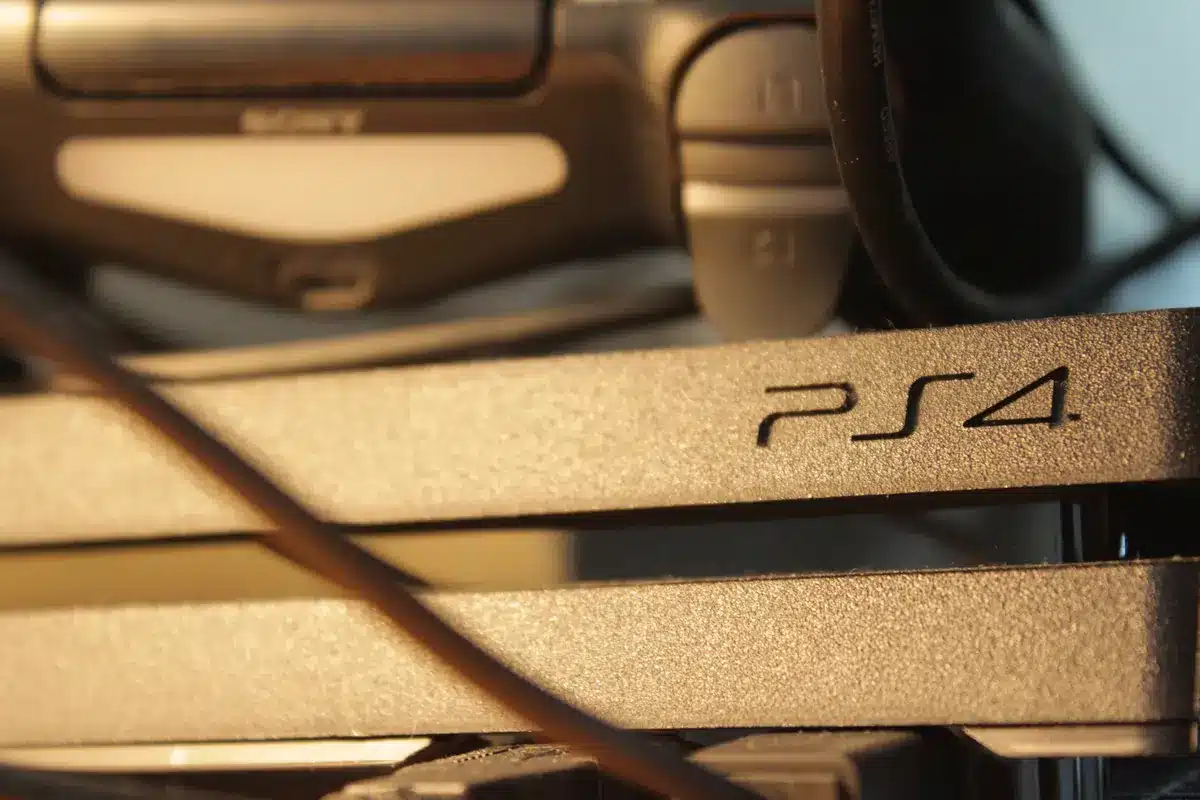
PS4 Hard Drive Replacement: A Comprehensive Guide
Learn how to replace the hard drive on your PS4 to increase storage capacity, allowing you to install more games on your device.
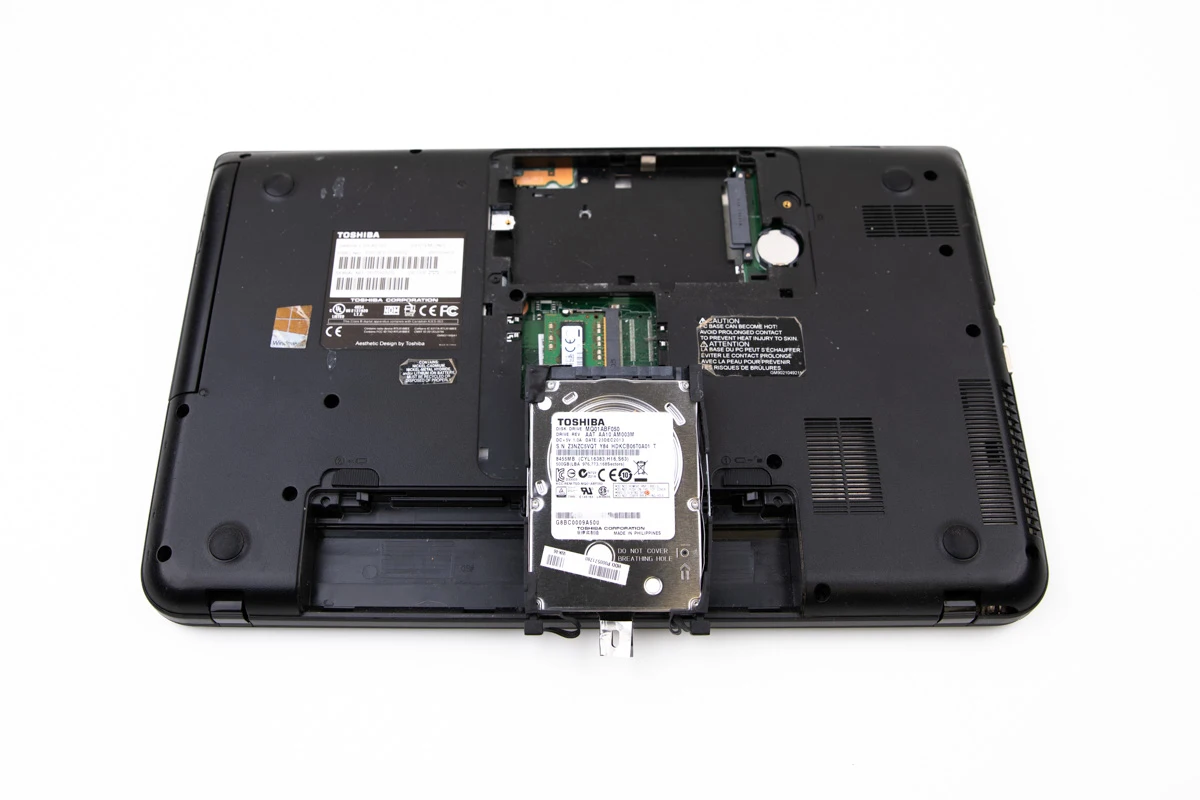
How to Remove Hard
Drive from Laptop
If there is a need to remove the hard drive from the laptop, our step-by-step guide is here to help. You can also contact us for assistance.