If you are planning to replace your laptop’s hard drive, the first step is to remove the old one. This can be a complicated task for someone unfamiliar with computer hardware. But, with some guidance and basic tools, anyone can do it.
In this blog post, we will direct you through the process of removing a hard drive from a laptop and installing a new one.
Why Would You Need to Remove a Hard Drive from a Laptop?
Before we dive into the process, let us take a quick look at why you may need to remove a hard disk drive from your laptop.
Firstly, you may want to upgrade your laptop’s hard drive to a larger one. This will give you more storage space for your files, documents, and multimedia. Secondly, you may want to replace a failing hard drive. If your laptop’s hard drive makes strange noises or is slow to respond, it may be time to replace it.
Thirdly, there may be a need to replace your hard drive with an SSD. In this case, you should find the SSD with the same interface. If your old HDD connects to the laptop with a SATA cable, you have to find an SSD with the same connection.
Lastly, you may want to remove the existing hard drive from your old laptop before selling or donating it. This will ensure your sensitive information does not fall into the wrong hands. You may also use a data destruction service for this purpose. In this case, data recovery will not be possible.
Now that we have covered the reasons why you may need to remove a hard drive from your laptop, let us move on to the steps involved.
How to Take Out Laptop Hard Drive
Back Up your Data
Before you remove your laptop’s hard drive, it is important to back up your data. This will ensure that you do not lose any important files or documents.
You can back up your data using an external hard drive, a cloud storage service, or a USB flash drive. Once you have backed up your data, you can move on to the next step.
Power Down Your Laptop
Powering down your laptop is a crucial step in the process of removing the hard drive. It ensures that the computer is not running and that the hard drive is not in use, which reduces the risk of data loss or damage to the hard drive.
It is important to note that simply closing the laptop lid or pressing the power button may put your laptop into sleep or hibernation mode rather than powering it down completely. It is important to ensure your laptop is powered down completely before removing the hard drive to avoid any potential data loss or damage.
Additionally, if you are removing the hard drive due to a malfunction or damage, unplugging the laptop from any power source and removing the battery is recommended. This will ensure that no electrical current is running through the computer, which can reduce the risk of damage to the hard drive or other components during the removal process.
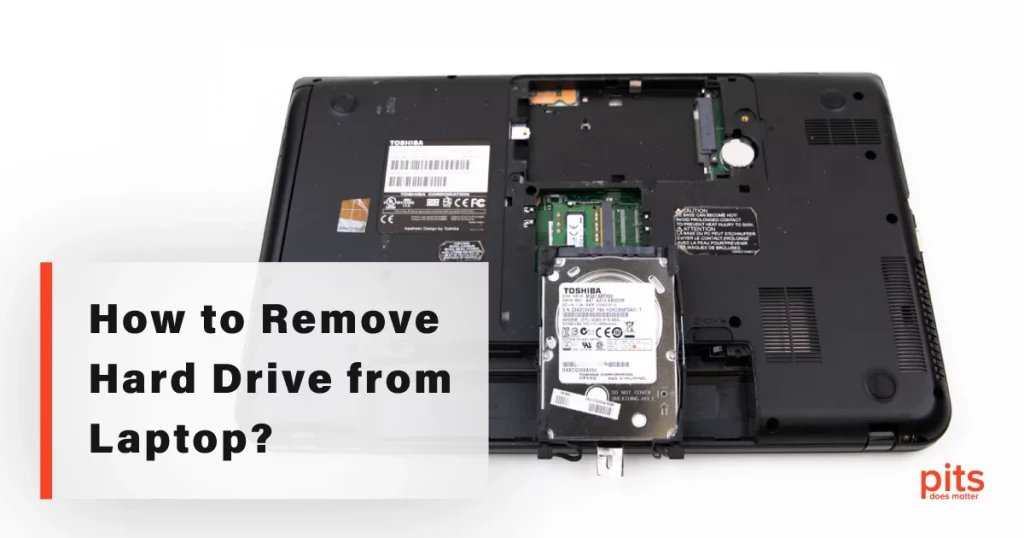
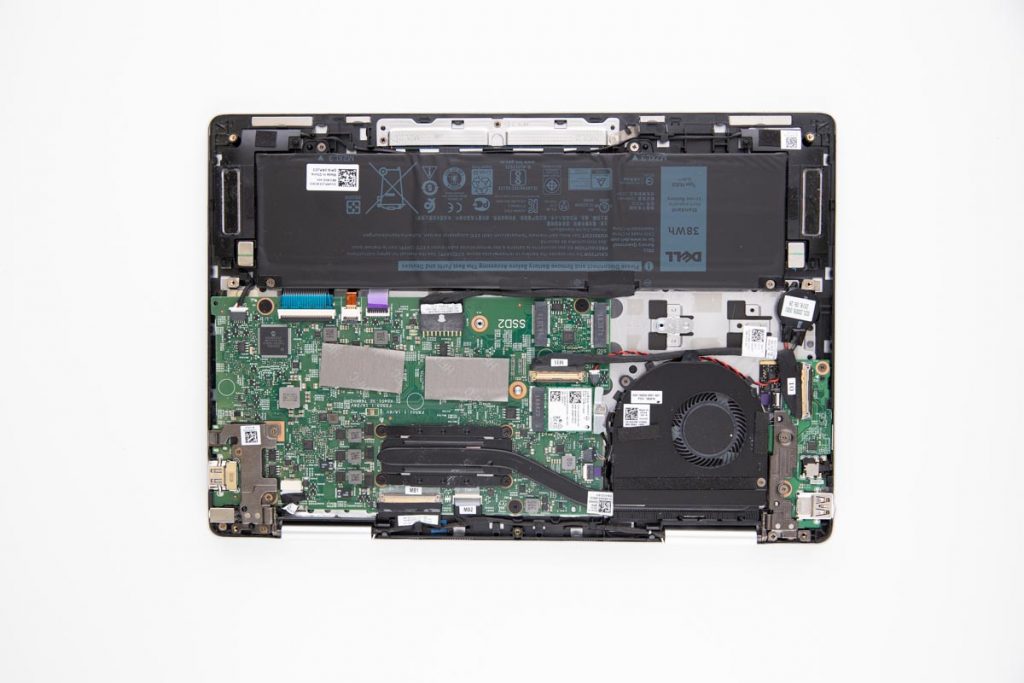
Locate the Hard Drive
Locating the hard drive is the next step in the process of removing it. The hard drive is the component responsible for storing your data, so it is essential to locate it correctly and take the necessary precautions to ensure that it is not damaged during removal.
The location of the hard drive can vary depending on the brand, model, and production year of your laptop. In most cases, the hard drive will be located at the bottom of the computer.
However, it may also be found on the side or back of the laptop. Sometimes, the hard drive may be placed in a removable bay or module.
If you are unsure of the location of the hard drive, you should consult your laptop’s user manual or manufacturer’s website for guidance.
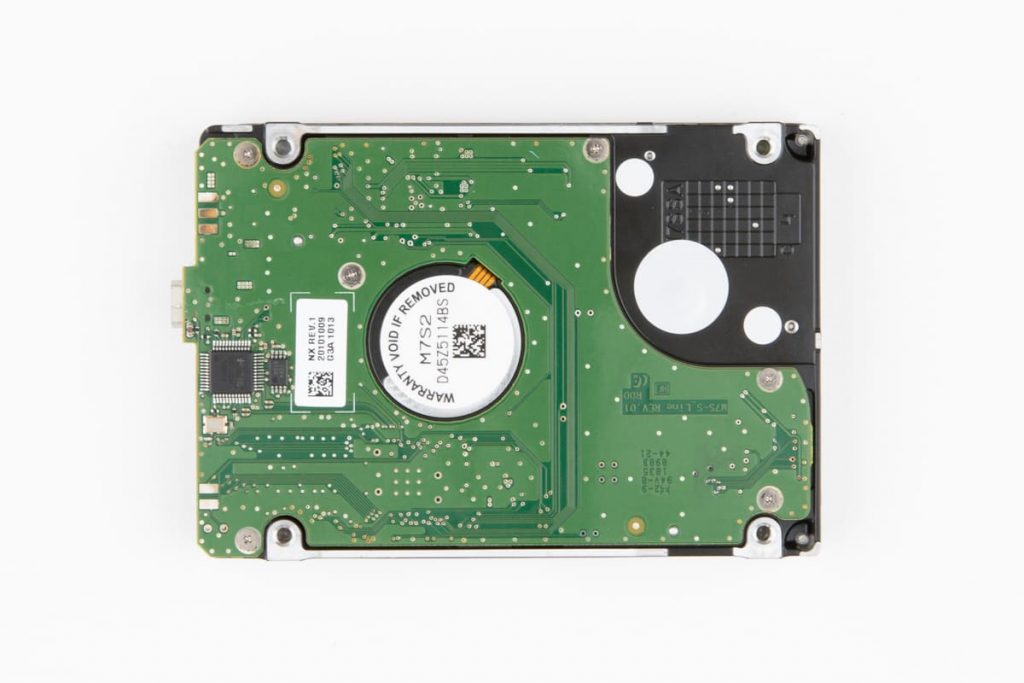
Remove the Hard Drive
Once you have located the hard drive, you will need to remove the cover to get access to the hard drive itself. The surface may be held in place by screws or clips, and the number and location of these parts can vary depending on the make and model of your laptop.
If the cover is held in place by screws, you must remove the screws with a screwdriver. Ensure to keep the screws safe, as you will need them to reattach the cover after removing the hard drive.
In case the cover is held in place by clips, you can use your fingers to pry the lid off gently. However, be careful not to use too much force, as this can cause damage to the clips or to the laptop itself.
When the hard drive is placed in a removable bay, you may need to release the drive from the connectors holding it before removing it from the laptop.
Once you have solved the issue with a holding mechanism, you can gently pull the hard drive out of the laptop.
How to Replace a Hard Drive in a Laptop
Install the New Hard Drive
Now that you have removed the old hard drive, you can install the new one. The process for installing a new hard drive may vary depending on your laptop’s model.
However, the general steps are as follows:
- Slide the new hard drive into the same slot where the old one was located.
- If the new hard drive is smaller than the old one, you may need to use spacers to ensure it fits snugly.
- Secure the new hard drive in place using screws or brackets.
- Replace the cover.
Recover Your Data
Once you have installed the new hard drive, you can restore your data. You can do this by copying your data back onto the new hard drive from your backup. Alternatively, you can download your data directly from the cloud if you have opted for a cloud storage service.
Test the New Hard Drive
Before you start using your laptop again, it is important to test the new hard drive. Ensure that it is working properly and that you can access all your data. You may need to consult a professional or contact the manufacturer for assistance if you encounter any issues.
Tips for Removing and Installing a Hard Drive
- Ensure you have the right tools. Before removing your laptop’s hard drive, make sure you have the right tools on hand. These may include a screwdriver, a pry tool, and spacers (if needed).
- Consult your laptop’s user manual. Every computer is different, so it is important to consult your laptop’s user manual before removing the hard drive. This will give you a transparent idea of where the hard drive is located and how to remove it.
- Be gentle. When removing and installing the hard drive, make sure to be gentle. Hard drives are delicate and can be easily damaged if handled roughly.
- Take your time. Removing and installing a hard drive can be a time-consuming process. Take time and work carefully to avoid damaging your laptop or the hard drive.
- Back up your data. Before you start removing the hard drive, make sure to back up your data. This will ensure that you keep all important files and documents.
Removing and installing a hard drive in a laptop may seem daunting, but it can be a simple process with the right tools and guidance. Remember to back up your data, consult your laptop’s user manual, and work carefully and gently.
If you encounter any problems with removal, do not hesitate to contact a professional. You can also get in touch with our customer service team for assistance, and we will gladly guide you step-by-step through the process.
Blogs Related to This Topic
How to Remove a Hard Drive from Computer
Learn how to safely remove a hard drive from your PC with this comprehensive guide, preventing damage to your computer.
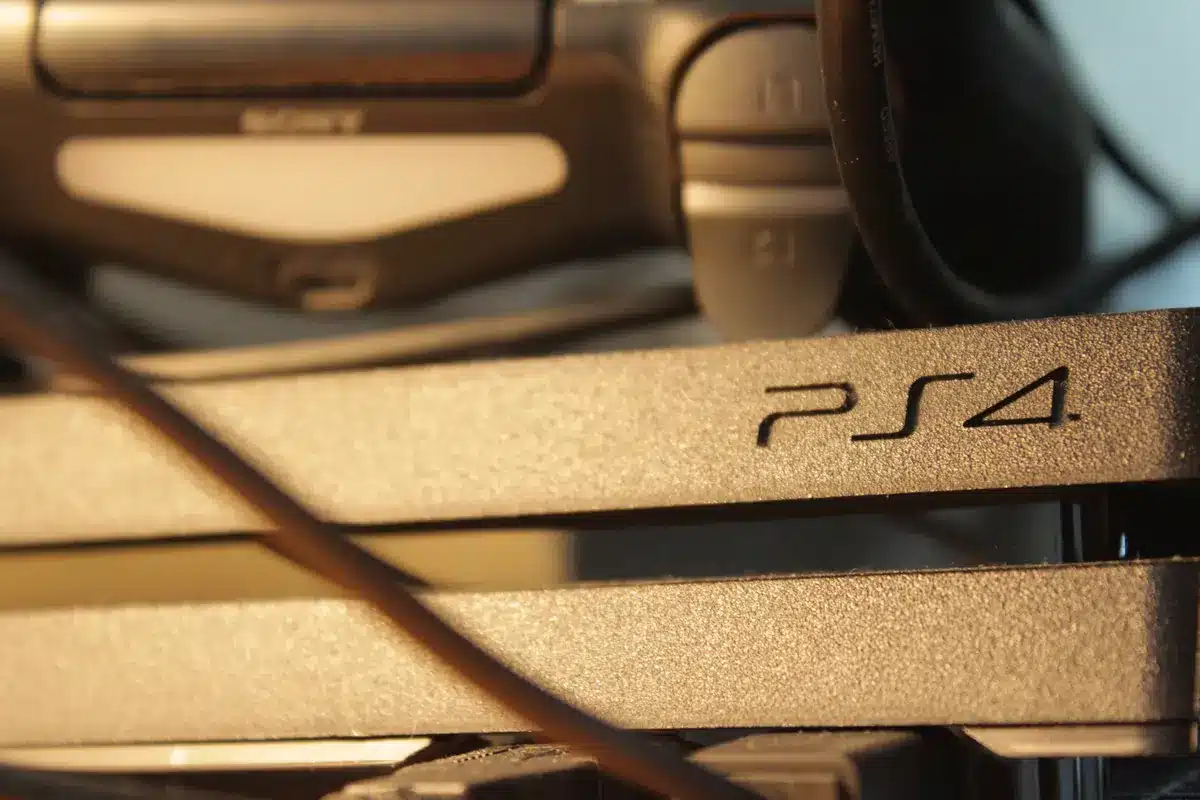
PS4 Hard Drive Replacement: A Comprehensive Guide
Learn how to replace the hard drive on your PS4 to increase storage capacity, allowing you to install more games on your device.
Frequently Asked Questions
Why would I need to remove the hard drive from my laptop?
There are several reasons to remove a laptop hard drive, including upgrading to a larger drive, replacing a faulty drive, or securely disposing of the drive when retiring the laptop.
What precautions should I take before removing the hard drive from my laptop?
Before removing the hard drive, ensure you have a backup of your data. Additionally, power off the laptop and disconnect it from any power source to prevent electrical hazards.
Can I remove the hard drive from any laptop?
The process of removing a laptop hard drive varies by laptop model. While it’s possible for most laptops, some ultrathin or ultrabook models may have soldered or proprietary drives that are not user-replaceable.
How do I determine the type of hard drive my laptop has before removing it?
You can check your laptop’s specifications in the user manual or online. Alternatively, you can access the Windows Device Manager or macOS System Information to identify the drive type and model.
Are there any risks involved in removing a laptop hard drive?
There is a risk of damaging the laptop or voiding the warranty if not done correctly. Additionally, improper handling can lead to data loss or electrostatic discharge damage. It’s essential to follow the manufacturer’s instructions or seek professional help if uncertain.