The PlayStation 4 (PS4) has become a staple in the gaming industry, providing countless hours of entertainment for gamers around the world. However, as game sizes continue to grow and downloadable content becomes more prevalent, the need for additional storage space on the console becomes essential.
Thankfully, Sony designed the PS4 with a user-replaceable hard drive, allowing gamers to upgrade their storage capacity easily. In this article, we will guide you through the process of replacing the hard drive on your PS4.
Why Replace the PS4 Hard Drive?
The default hard drive that comes with the PS4 typically has a storage capacity of either 500GB or 1TB, which may not be sufficient for some gamers. With the increasing number of games, updates, and add-ons, it’s easy to run out of space quickly. By replacing the hard drive, you can significantly expand your storage capacity, ensuring that you have enough room for all your games and media.
Before You Begin the PS4 Replacement Hard Drive Process
Before you embark on the hard drive replacement process, there are a few things you need to consider:
- Compatibility. Ensure that the replacement hard drive is compatible with the PS4. The PS4 requires a 2.5-inch SATA hard drive with a maximum height of 9.5mm. It’s recommended to use a solid-state drive (SSD) for improved performance, but traditional hard drives (HDDs) are also compatible.
- Capacity. Decide on the storage capacity you want for your new hard drive. Take into account your gaming habits, the number of games you plan to install, and any additional media you may want to store.
Back Up Your Data. It’s crucial to back up your game saves, screenshots, and any other data you want to keep. You can either back up to an external storage device or upload your saves to the cloud if you have a PlayStation Plus subscription.
Step-by-Step PS4 Hard Drive Replacement
Step 1: Prepare the Necessary Tools
- A Phillips-head screwdriver.
- A USB flash drive with at least 1GB of free space.
- Your new replacement hard drive.
Step 2: Back Up Your Data
- Connect an external storage device to your PS4.
- Navigate to the “Settings” menu, then select “System” and “Back Up and Restore.”
- Choose “Back Up PS4” and follow the on-screen instructions to complete the backup process.
Step 3: Remove the Old Hard Drive
- Make sure your PS4 is turned off and unplugged from the power source.
- Carefully remove the glossy panel on the left side of the PS4.
- Locate the screw that holds the hard drive in place and remove it.
- Slide the hard drive bay out, disconnect the SATA connector, and remove the old hard drive.
Step 4: Install the New Hard Drive
- Attach the SATA connector to your new hard drive.
- Slide the new hard drive into the bay and secure it with the screw.
- Slide the bay back into the PS4 and replace the glossy panel.
Step 5: Reinstall the PS4 System Software
- Create a folder on your USB flash drive called “PS4.”
- Inside the “PS4” folder, create another folder called “UPDATE.”
- Download the latest PS4 system software from the official PlayStation website and save it in the “UPDATE” folder.
- Plug the USB flash drive into your PS4 and turn it on in Safe Mode by holding the power button for about seven seconds.
- From the Safe Mode menu, select “Initialize PS4 (Reinstall System Software).”
- Follow the on-screen instructions to complete the installation process.
Step 6: Restore Your Data
- Connect the external storage device containing your backup to the PS4.
- Go to the “Settings” menu, then select “System” and “Back Up and Restore.”
- Choose “Restore PS4” and select the backup file you created earlier.
- Follow the prompts to restore your data onto the new hard drive.
Upgrading the hard drive on your PS4 is a relatively straightforward process that allows you to expand your storage capacity and continue enjoying your favorite games without worrying about limited space.
By following the steps outlined in this guide, you can confidently replace the hard drive on your PS4 and have it up and running with your data restored in no time. So, don’t let storage limitations hold you back from enjoying your gaming experience to the fullest; upgrade your PS4 hard drive today!
Using External Drives for Additional Storage
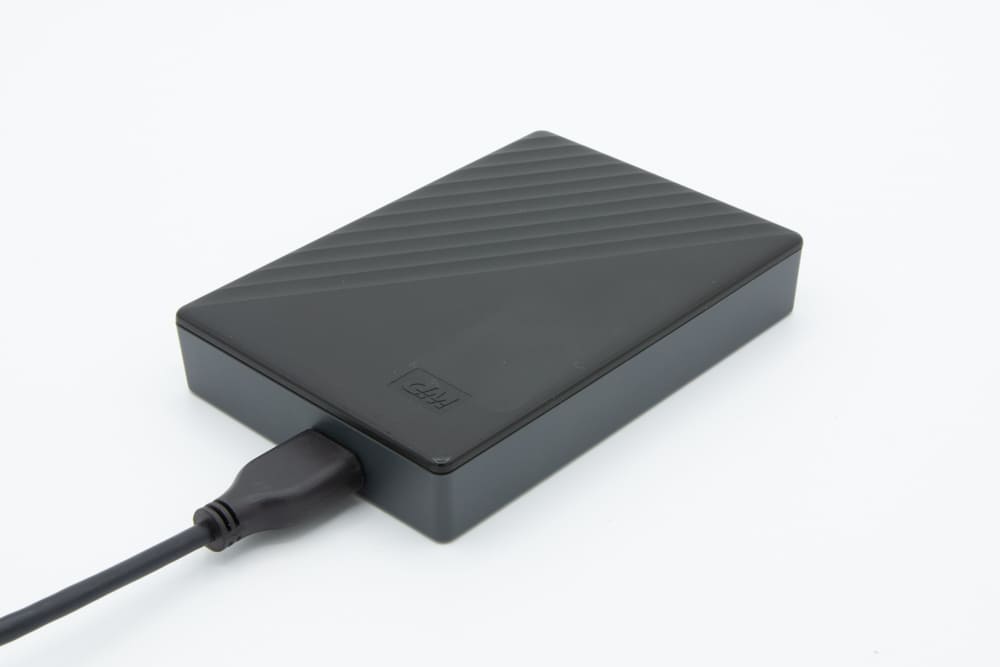
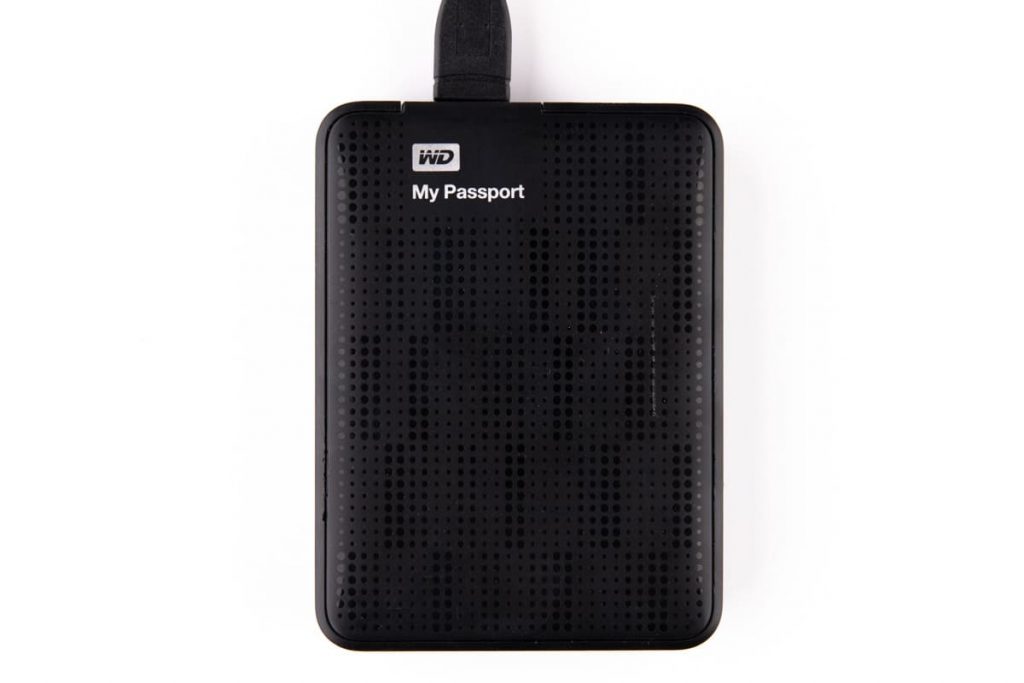
In addition to replacing the internal hard drive, the PS4 also allows users to expand their storage capacity by connecting an external hard drive. This feature is particularly useful for gamers who want to have a vast library of games readily available without the need for constant hard drive swaps. Here’s how you can utilize an external drive on your PS4:
Step 1: Choose the Right External Drive
- Ensure that the external hard drive meets the following requirements: It must support USB 3.0.
- The storage capacity can be up to 8TB.
- It should have a 2.5-inch form factor, which is the most common size for portable external drives.
Step 2: Format the External Drive
- Connect the external drive to one of the USB ports on your PS4.
- Go to the “Settings” menu, then select “Devices” and “USB Storage Devices.”
- Choose the connected external drive and select “Format as Extended Storage.”
- Follow the on-screen prompts to format the drive for PS4 use. Note that formatting will erase all existing data on the drive, so make sure to back up any important files beforehand.
Step 3: Managing Games on the External Drive
- By default, all new installations will go to the external drive once it is set up.
- To move existing games from the internal drive to the external drive, Go to the “Settings” menu and select “Storage.”
- Choose “System Storage” and select “Applications.”
- Select the game you want to move, press the “Options” button on your controller, and choose “Move to Extended Storage.”
- Follow the prompts to complete the process.
Step 4: Ejecting the External Drive
- When you are done using the external drive or want to disconnect it from the PS4, it is important to eject it properly to avoid data corruption.
- Go to the “Settings” menu, then select “Devices” and “USB Storage Devices.”
- Choose the connected external drive and select “Stop Using This Extended Storage.”
- Wait for the system to safely eject the drive, then disconnect it from the USB port.
Note: It’s worth mentioning that while games can be played directly from the external drive, certain system-related functions, such as system software updates, cannot be installed on external storage.
Expanding the storage capacity of your PS4 is crucial to accommodate the ever-growing library of games and digital content. By either replacing the internal hard drive or utilizing an external drive, you can ensure that you have enough space to install and enjoy your favorite games without constantly worrying about storage limitations. Whether you opt for a larger internal drive or connect an external one, these options provide flexibility and convenience, allowing you to make the most of your gaming experience on the PS4.
Frequently Asked Questions
Can I replace the hard drive on my PS4 Slim or PS4 Pro?
Yes, the process of replacing the hard drive is similar for all PS4 models, including the PS4 Slim and PS4 Pro. Just ensure that you choose a compatible 2.5-inch SATA hard drive with a maximum height of 9.5mm.
What is the recommended storage capacity for the new hard drive?
The recommended storage capacity depends on your gaming preferences. If you frequently install and play a large number of games, opting for a higher capacity, such as 1TB or even 2TB, would be beneficial. However, if you play fewer games and manage your storage efficiently, a 500GB or 750GB drive may suffice.
Can I use an external hard drive and a replaced internal hard drive together on my PS4?
Yes, you can use both an external hard drive and a replaced internal hard drive simultaneously on your PS4. This allows you to maximize your storage capacity by utilizing both internal and external drives.
Can I use any external hard drive for expanding the storage on my PS4?
No, not all external hard drives are compatible with the PS4. Ensure that the external drive you choose supports USB 3.0 and has a 2.5-inch form factor. Additionally, it should be formatted as exFAT or FAT32 for PS4 compatibility.
Can I play games directly from the external hard drive?
Yes, once you have set up an external hard drive as extended storage, you can install and play games directly from it. This allows you to expand your game library without worrying about limited internal storage.
Do I need to reinstall all my games and applications after replacing the hard drive?
If you properly back up your data before replacing the hard drive, you can restore your games and applications from the backup onto the new hard drive. This saves you from having to download and reinstall everything from scratch.
Blogs Related to This Topic
How to Remove a Hard Drive from Computer
Learn how to safely remove a hard drive from your PC with this comprehensive guide, preventing damage to your computer.
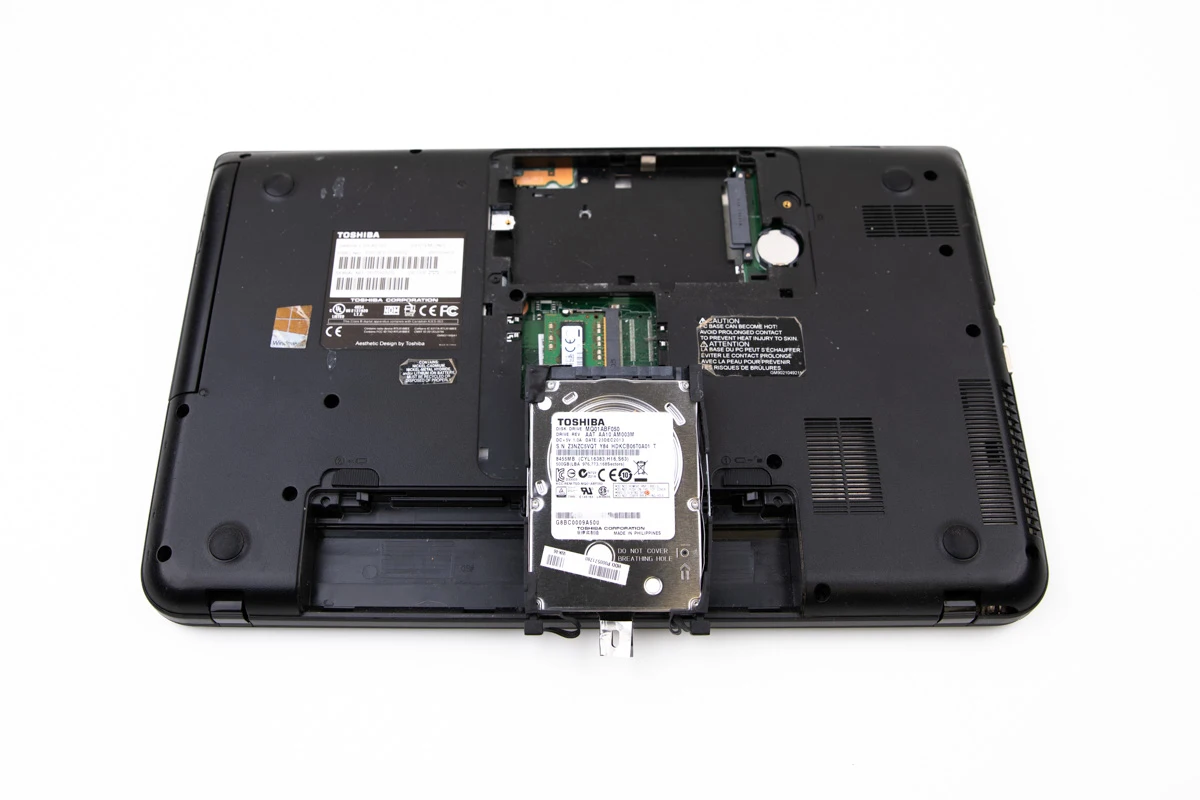
How to Remove Hard
Drive from Laptop
If there is a need to remove the hard drive from the laptop, our step-by-step guide is here to help. You can also contact us for assistance.