Solid State Drives (SSDs) have changed computer storage with remarkable speed and reliability, outperforming traditional hard drives in every aspect. As SSDs become increasingly popular, upgrading your computer with one can significantly enhance its performance.
In this comprehensive guide, we’ll walk you through installing an SSD step by step. Before we dive into the installation process, let’s first understand what SSDs are and why they are worth considering.
Understanding SSDs
Before delving into the installation process, let’s take a moment to comprehend what SSDs are and how they work. Unlike traditional hard drives, SSDs utilize flash memory to store data, removing the need for mechanical components. This key difference results in several benefits:
Improved Speed
SSDs offer impressive speed advantages over traditional hard drives by leveraging flash memory technology. With faster boot times and reduced loading times, you can experience snappy performance and seamless multitasking.
Enhanced Durability
Since SSDs don’t have any moving components, they are less susceptible to mechanical failures and physical damage caused by shocks or drops. It makes them ideal for portable devices, ensuring your data remains intact even in rugged environments.
Performance Efficiency
Although traditional hard drives may be more cost-effective per gigabyte of storage, SSDs provide superior performance and increased productivity. Their ability to access data quickly and efficiently means faster file transfers, smoother application launches, and improved overall system responsiveness.
By embracing SSD technology, you can unlock a world of speed, durability, and enhanced performance for your computing needs. Upgrade your storage solution for a seamless experience and enjoy the benefits it brings to your daily computing tasks.
Gathering Necessary Tools
To ensure a smooth SSD installation process, it is important to have the following tools readily available. By having these tools on hand, you can confidently proceed with the installation and enjoy the improved performance that the SSD will bring to your system:
A Phillips-head Screwdriver
Necessary for securing the SSD in its designated slot.
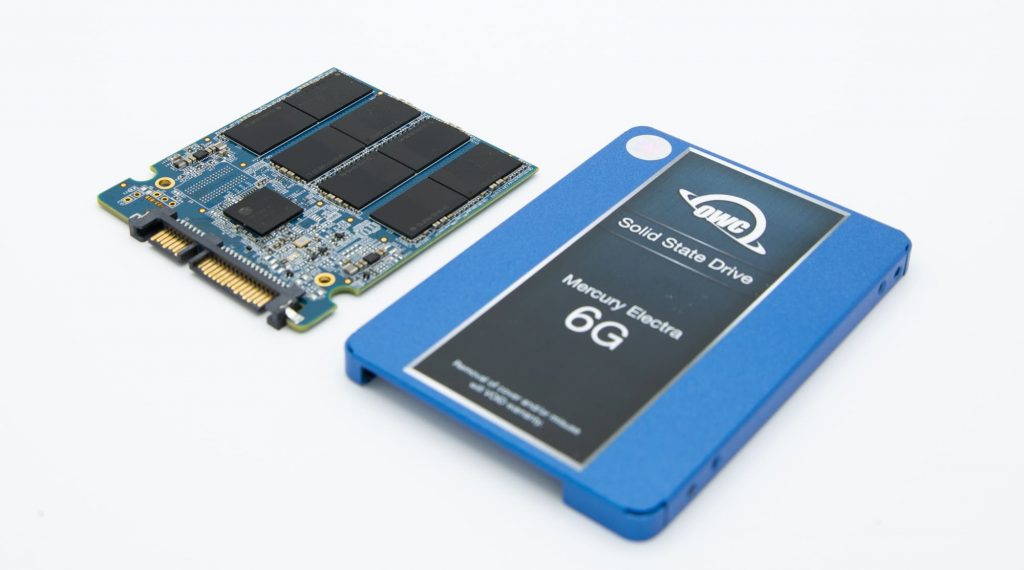
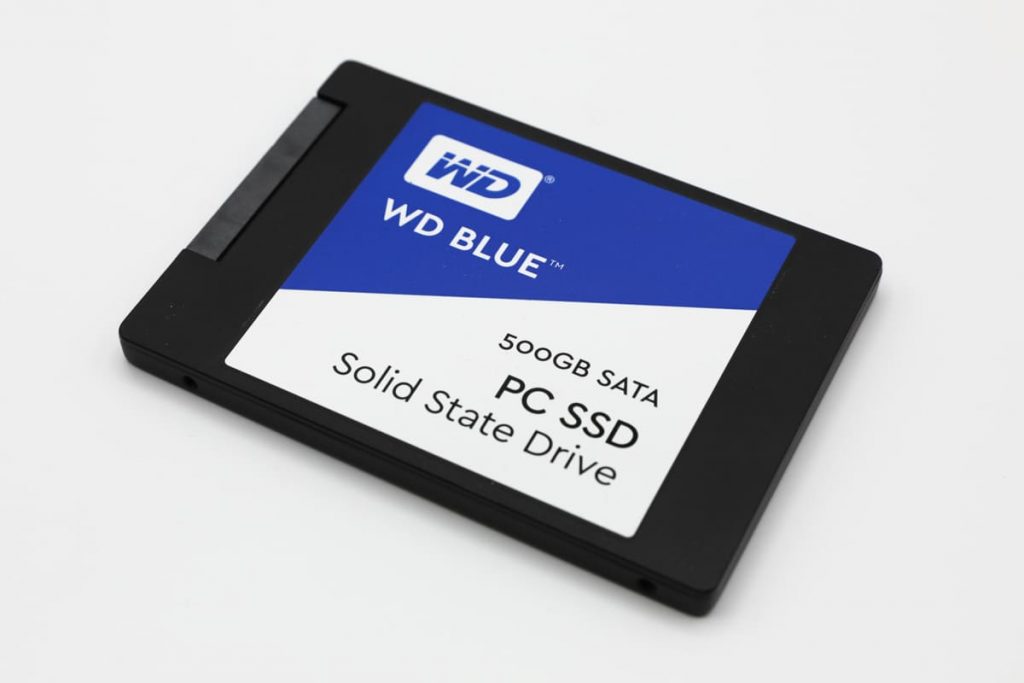
An SSD
Choose an SSD with sufficient capacity to meet your storage needs. Consider factors like the size of your current drive and the amount of data you intend to transfer.
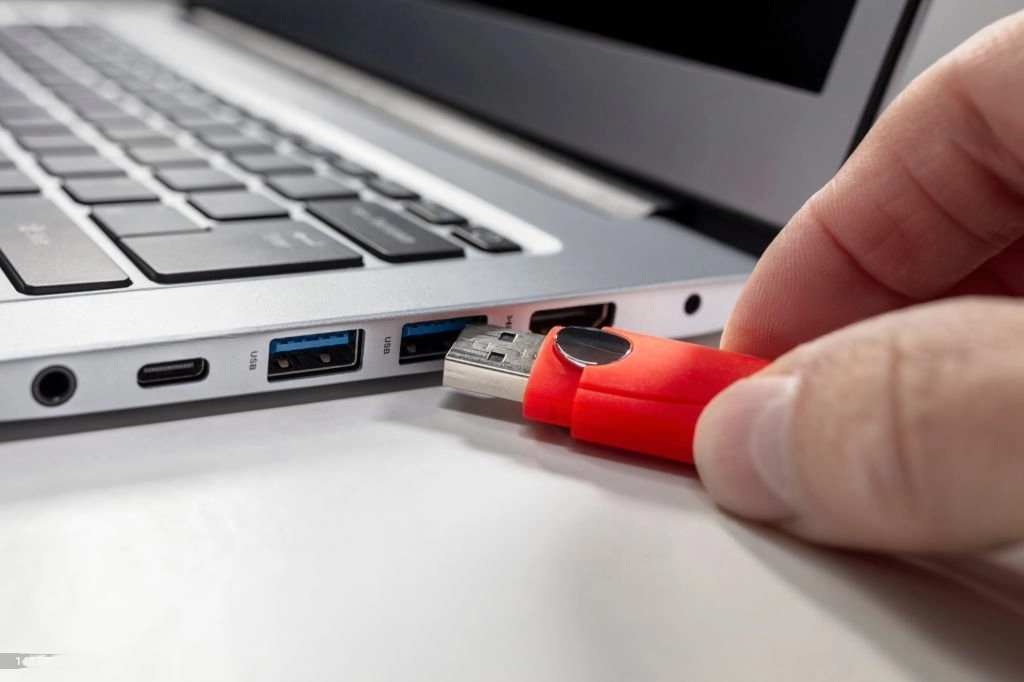
A SATA to USB Adapter
This device connects your old hard drive to a computer using USB. It allows you to easily copy all your data and programs. It ensures a seamless transition while safeguarding your valuable information.
Drive Bay or M 2 Slot
This device connects your old hard drive to a computer using USB. It allows you to easily copy all your data and programs. It ensures a seamless transition while safeguarding your valuable information.
Cloning Your Old Drive (Optional)
If you want to keep your valuable data and settings intact during the upgrade, follow these comprehensive steps to ensure a seamless transition from your old drive to the new SSD.
To begin, connect the SSD to your computer using the reliable and widely compatible SATA to USB adapter. This connection will provide a stable and efficient data transfer process, essential for successful drive cloning.
Next, utilize trusted and efficient disk cloning software specifically designed for this purpose. With this software, you can effortlessly clone your entire old drive onto the spacious and high-performance SSD.
The duration of the cloning process may vary depending on the size and amount of data being transferred. Be patient, as this meticulous process ensures the safe and accurate transfer of all your files, applications, and settings.
Once the cloning process is complete, it is crucial to shut down your computer in preparation for the physical installation of the SSD. This step ensures that the new SSD is properly recognized and functions optimally in your system. Take your time to securely install the SSD, ensuring proper connection and alignment within your computer.
How to Install SSD on PC
The installation process varies depending on whether you’re upgrading a desktop PC or a laptop. Let’s examine the installation process for the PC.
1. Open the PC Case
Power down your desktop and unplug it from the electrical outlet before proceeding. Remove the case's side panel to gain access to the internal components.
2. Locate an Empty Drive Bay
Identify an available drive bay where you'll install the SSD. Most modern cases have dedicated slots for 2.5-inch SSDs or M.2 on the motherboard.
3. Install the SSD
Gently slide it into the designated bay and use the provided screws.
4. Connect the Cables
Connect the SATA data cable to the SSD. Ensure to securing the other end to an available SATA port on your motherboard. Next, plug the SATA power cable into the SSD to provide power.
5. Close the PC Case
After the SSD is secure installation and connection, close the PC case. And fasten the side panel.
Remember, taking these precautions and understanding the layout of your desktop PC will ensure a smooth and successful installation process. So make sure to proceed with care and attention to detail.
How to Install SSD in Laptop
1. Turn off Your Laptop
Please ensure a complete shutdown and disconnect the device from any power source. For safety purposes, it is advisable to detach the battery if it is removable.
2. Access the Drive Bay or M.2 Slot
To reach the inside parts, you might have to remove the laptop's bottom panel. Locate the existing drive and carefully remove the drive, if applicable.
3. Install SSD in Laptop
Install the SSD securely into the designated drive bay or M.2 slot, ensuring a snug and proper fit. Use the provided screws to secure the SSD in place.
4. Reassemble the Laptop
Carefully reattach the bottom panel and, if removed, reinsert the battery.
5. Confirm SSD Installation via BIOS
Power on your laptop and confirm that the SSD is detected in the system BIOS.
Finally, you may need to reinstall your operating system or clone your existing drive to the new SSD to fully utilize its benefits.
By following these easy yet effective steps, you can successfully install a solid-state drive (SSD) in your laptop, which will lead to a significant boost in speed and overall performance for all your computing needs.
Setting Up the SSD
After you have completed the physical installation, you will need to configure the SSD in your computer’s BIOS. Additionally, if you did not copy your old drive, you will also need to install the operating system (OS).
1. Boot up your computer
To access the BIOS on your computer, start by powering it on. Look for the designated key displayed on the screen during startup, and press it to enter the BIOS.
2. Set the SSD as the main boot device
In the BIOS settings, navigate to the boot priority. Configure the boot order section and designate the SSD as the primary boot device, ensuring optimal system functionality.
3. Installing the operating system
4. Finalizing the setup
Upgrading your computer with an SSD is a game-changer, significantly enhancing overall performance and reducing boot times. Setting up your computer, whether it’s a desktop or laptop, is simple with the right tools and guidance.
Easily add an SSD to your computer for faster data access and less chance of mechanical issues with this helpful guide. Experience seamless performance and enhanced reliability.
If you encounter any confusion or require further assistance with any step, it is advisable to refer to your computer’s manual, which contains detailed explanations and troubleshooting solutions. Alternatively, you can also seek help from a professional technician who specializes in addressing technical issues and providing guidance.
Ensuring you have access to comprehensive resources and expert support will enable you to effectively troubleshoot and resolve any concerns that may arise with your computer system.
Frequently Asked Questions
Can I install SSD by myself?
Yes, you can install an SSD by yourself. It requires basic computer knowledge and tools, but the process is relatively straightforward.
Will SSD make PC run faster?
Absolutely, SSDs provide significantly faster data access times, resulting in a noticeable improvement in overall PC performance and reduced boot times.
Can I use a 2.5 SSD in my desktop?
Yes, you can use a 2.5-inch SSD in your desktop. Most modern desktops have dedicated drive bays to accommodate 2.5-inch SSDs.
Is it OK to replace HDD with SSD?
Yes, it’s perfectly fine to replace your HDD with an SSD. Not only will you experience a speed boost, but it’s also a reliable and worthwhile upgrade.
How to Install SSD on Motherboard?
To install an SSD onto a motherboard:
1. Turn off your computer.
2. Open the computer case.
3. Find an unused SATA port on the motherboard.
4. Attach a SATA cable to the SSD and connect the other end to the motherboard.
5. Safely secure the SSD in a drive bay or slot.
6. Close the computer case.
7. Turn on your computer and format the SSD if required.
8. Install an operating system or clone your current one onto the SSD for utilization.