With our world becoming increasingly digital, Network-Attached Storage (NAS) plays a vital role in storing and handling data. It acts as your cloud, allowing secure and convenient access to files across your network.
Constructing your NAS provides unmatched control and customization. This comprehensive guide will take you step by step through the process, enabling you to build a NAS that perfectly suits your requirements. From selecting the right hardware to implementing security measures, let’s embark on your journey to create a NAS.
How to Make Network Attached Storage Planning?
Proper planning is crucial before embarking on the construction of your NAS. It is important to establish a strong foundation. Here are the key aspects that you should take into account:
Importance of Planning
Don’t underestimate the significance of the planning phase. It sets the stage for a successful NAS build. When you plan meticulously, you confirm that your NAS aligns completely with your requirements and expectations.
Before anything else, identify the main objective of your NAS. Will it be used for personal storage, as a media server, data backup, or a mixture? Clarity about your purpose will influence every decision you make while building it.
Hardware Components
- Central Processing Unit (CPU)
- Motherboard
- RAM (Random Access Memory)
- Storage Drives (Hard Drives, Solid-State Drives)
- Network Connectivity (NICs)
- Power Supply Unit (PSU)
Cooling Solutions - Case (Form Factor)
Software Components
- Operating System (e.g., FreeNAS, OpenMediaVault, or custom Linux)
- NAS Management Software
- Data Backup Software
- Security and Access Control Software
This planning stage is your compass for the NAS build ahead, providing that every component aligns with your goal and delivers the desired functionality.
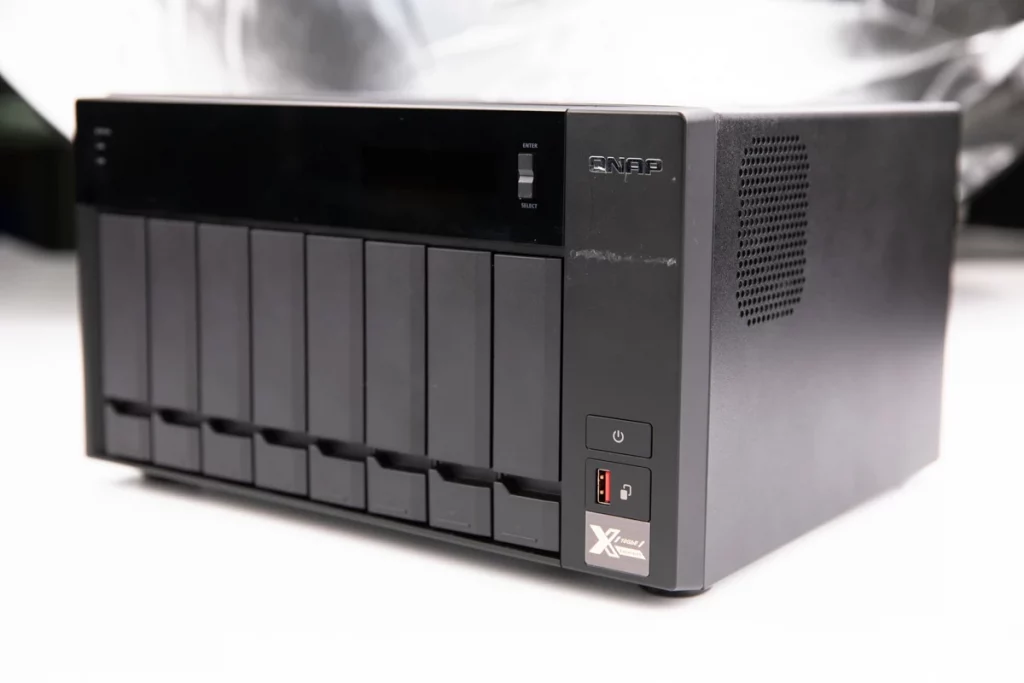
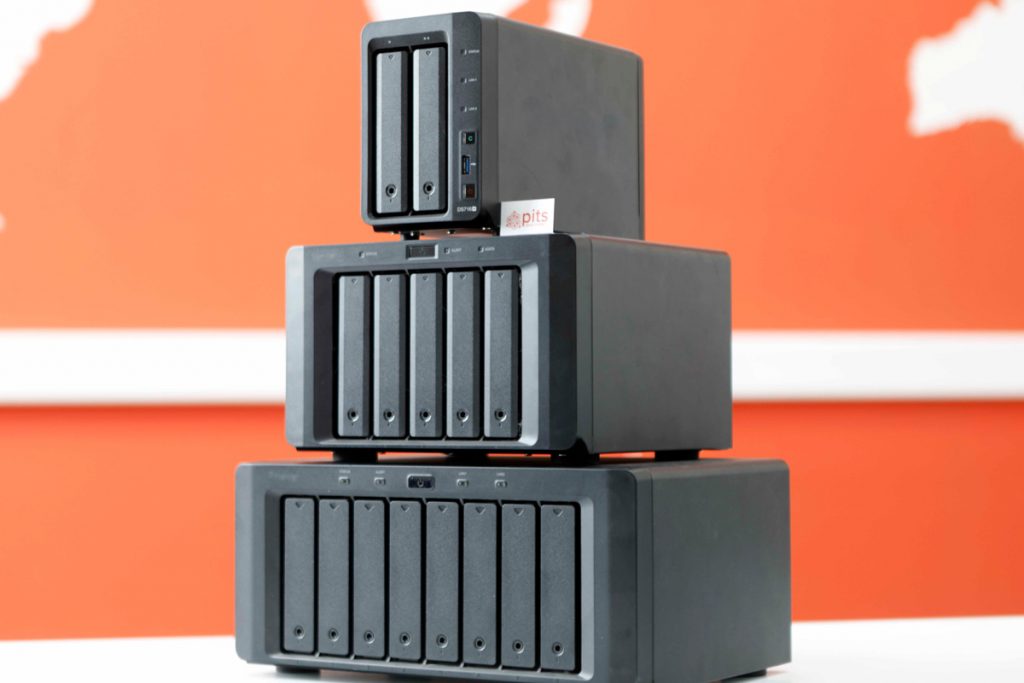
How to Set Up a NAS - Hardware Selection
Choosing the appropriate hardware for your NAS is a crucial decision that greatly impacts its performance and functionality. Here are the factors to keep in mind when selecting your NAS hardware:
Central Processing Unit (CPU), Motherboard, and RAM
The NAS CPU acts as the central processing unit, serving as the brain of your NAS and choosing a CPU that aligns with the intended usage of your NAS. A more powerful CPU is necessary for tasks like media transcoding, whereas a basic CPU may suffice for simple file storage purposes.
Additionally, it is essential to ensure motherboard compatibility with your chosen CPU and support for the desired RAM configuration. Selecting an appropriate amount of RAM is also vital, typically starting from 4GB or more, based on your specific needs. Having more RAM can enhance multitasking capabilities and overall system performance.
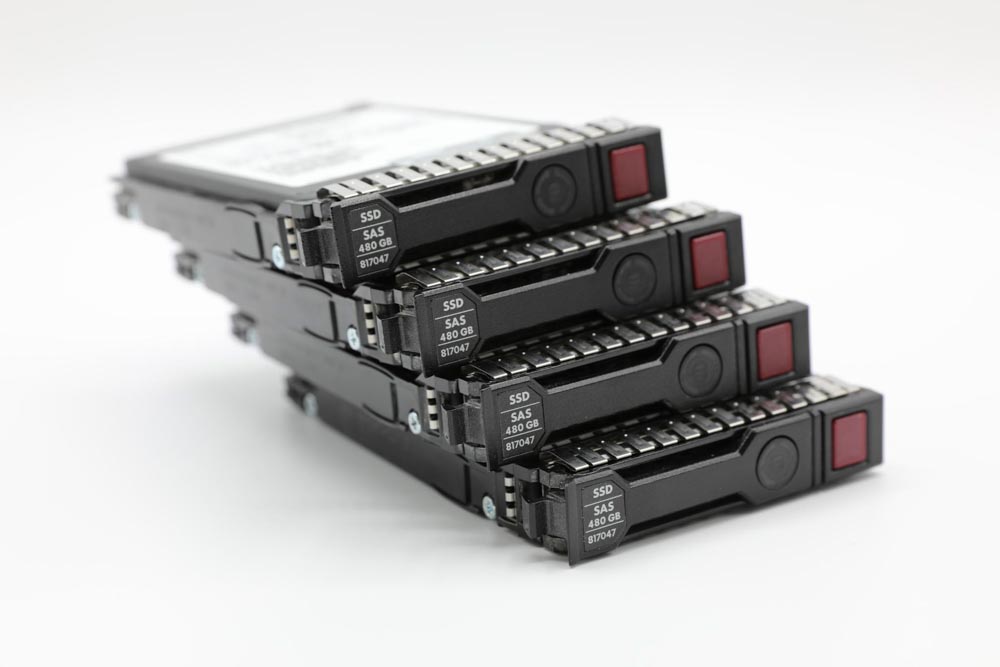
Storage Options
Take into account the kinds of drives you will utilize. Hard Disk Drives (HDDs) provide ample storage capacity at a lower cost, whereas Solid-State Drives (SSDs) grant swifter data access but are more expensive. Decide on the RAID (Redundant Array of Independent Disks) setup.
RAID alternatives such as RAID 1 for duplicating data or RAID array 5 for striping data with parity provide distinct data redundancy and performance levels. Select the option that suits your requirements.
Network Connectivity and Bandwidth Requirements
Ensure your NAS has the right network interface cards (NICs) and that they are competent in handling your network’s bandwidth requirements. Gigabit Ethernet is a standard choice, but faster alternatives like 10GbE or 2.5GbE may be eligible for high-speed data transfer.
Power Supply and Cooling
Pick a power supply unit (PSU) that can accommodate your components while leaving room for future expansion.
Proper cooling is essential to prevent overheating. Ensure your NAS has good cooling solutions, such as fans or passive cooling, to keep optimal temperatures.
Case Selection and Form Factor
Pick a case that fits your chosen components and allows for efficient airflow. Consider the physical space where your NAS device will reside; this may influence the case’s form factor.
By carefully evaluating these hardware components, you can build a NAS that suits your needs and offers the performance and reliability you expect. The right hardware choices can make a significant difference in the long-term functionality of your NAS.
How to build a Network Server - Software Setup
Now that you’ve chosen the hardware for your NAS, it’s time to get it up and running with the right software.
Choose an Operating System
Picking the right operating system (OS) is a paramount decision, as it forms the foundation of your NAS. Consider options such as:
FreeNAS: A popular choice known for its open-source nature and powerful feature set.
OpenMediaVault: A user-friendly NAS OS based on Debian, delivering a web-based interface for straightforward management.
Custom Linux Distributions: For those with more advanced technical skills, you can build a NAS from zero using a Linux distribution like Ubuntu Server.
Choose the OS that best aligns with your specialized expertise and needs.
Installing and Configuring the Chosen OS
This step involves installing the selected operating system onto your NAS hardware. It typically includes:
- Making a bootable USB drive with the OS.
- Installing the OS onto your NAS hardware.
- Configuring basic system settings, such as language, time zone, and network connectivity.
Each OS has its installation process, but they usually deliver user-friendly wizards to guide you through the setup.
Setting Up User Accounts and Permissions
As you’ve set up the foundation of your NAS, it’s time to ensure your data’s security and access control. It includes:
- Creating user accounts for yourself and others who will access the NAS.
- Setting permissions and access rights for different folders or shares.
Ensuring the confidentiality and integrity of your data is essential in this process. It guarantees that only authorized individuals can access particular files and folders.
After this section, your NAS will be equipped with the operating system and user access controls, enabling data storage and management. Establishing the software configuration is critical to your NAS, guaranteeing its seamless and secure operation.
Storage Configuration
Setting up the storage for your NAS is a critical step that determines the protection and organization of your data. Select the RAID level that aligns with your data protection and performance requirements.
Setting Up RAID
To set up RAID on your NAS, follow these steps:
- Access your NAS’s management interface.
- Identify your installed drives and select drives you want to use in your RAID array.
- During the configuration process, choose the desired RAID level (e.g., RAID 1, RAID 5, or RAID 10).
- Depending on your NAS hardware and software, configure settings such as stripe size, cache policy, and hot spare drives.
Refer to the documentation of your particular operating system or NAS management software for detailed instructions on the step-by-step process, as it may vary depending on your NAS system.
Creating Shared Folders and Organizing Data
Once your RAID array setup is done, organizing your data is time. It involves:
- Creating shared folders for specific purposes (e.g., “Media,” “Documents,” “Photos”).
- Setting access permissions for each shared folder controls who can read, write, or modify the contents.
- Organizing your data within these shared folders to keep everything easily accessible and well-structured.
This storage configuration stage ensures that your data is protected and efficiently organized, letting you make the most of your NAS while maintaining data integrity. Your NAS is now ready to serve as a trustworthy repository for your digital content.
Data Backup and Redundancy
Ensuring the safety of your data is a top priority when building a NAS. Data is invaluable, and accidents are bound to occur. In this context, we highlight the significant significance of regular backups in protecting your valuable data. We will explore how backups are a safety measure against data loss, whether caused by hardware malfunctions, unintentional deletions, or unforeseen circumstances.
Data redundancy improves data protection and uptime. It includes duplicating data to ensure recovery from multiple sources in case of failure. Data Redundancy is crucial in a NAS, where backups and redundancy solutions are vital for protecting your data. We will discuss different choices, like RAID levels and cloud backup, that ensure dependable data recovery.
Remote Access and Security
Secure remote access is crucial for reaching your NAS from anywhere globally while addressing the associated security concerns. This section highlights the importance of securely activating remote access.
Secure Remote Access Methods (e.g., VPN)
Security is paramount when accessing your NAS remotely. Learn about secure methods, such as using a Virtual Private Network (VPN), to protect your NAS from potential external threats.
Keeping your NAS secure is vital. It includes setting strong passwords, keeping your software up to date, and utilizing firewalls and other security measures.
Setting Up Plex, Emby, or Other Media Server Software
Explore popular media server software like Plex and Emby and learn how to install and configure them on your NAS. These tools turn your NAS into a media hub, allowing you to stream movies, music, and TV shows to various devices.
Your NAS becomes a powerful digital ally with proper planning, chosen hardware, reliable software configuration, data backup, secure remote access, and a versatile media server. Keep in mind your NAS offers data security, accessibility, and convenience. It safeguards memories and enhances your digital lifestyle.
Lastly, data recovery is crucial as accidents can still occur. If your NAS server experiences unexpected failures, seek assistance from PITS Global Data Recovery Services professionals. Their expertise and advanced technology will help recover valuable data from failed NAS servers, providing peace of mind.
Frequently Asked Questions
How can I make my own NAS?
To create your own NAS, you’ll need a few essential components: a computer or dedicated NAS hardware, storage drives (HDDs or SSDs), an operating system (like FreeNAS or OpenMediaVault), and a network connection. You’ll install the OS on the hardware, configure storage, set up user accounts, and manage data access permissions. Detailed steps are outlined in our guide.
Does a NAS need a good CPU?
The CPU choice depends on your NAS’s intended use. For basic file storage and sharing, a modest CPU will suffice. However, a more powerful CPU can improve performance if you plan to run resource-intensive applications or services like media servers. Consider your specific needs when choosing a CPU.
Do you need a lot of RAM for a NAS?
The amount of RAM required for a NAS depends on its purpose. 4GB or more is usually sufficient for basic file storage and sharing. More RAM can enhance multitasking and performance, especially if you run multiple applications simultaneously. Consider your intended workload when deciding on RAM.
Is it worth having a NAS at home?
Having a NAS at home offers numerous benefits. It delivers a centralized location for data storage, making it accessible from multiple devices. You can use it for data backup, media streaming, file sharing, and more. Its customization and control make it a valuable addition for those who prioritize data security and accessibility.
How much RAM does a NAS need?
A NAS’s ideal amount of RAM depends on your specific use case. For basic file storage and sharing, 4GB or more is suitable. More RAM becomes beneficial when running applications like media servers or virtual machines. Evaluate your intended NAS applications and workloads to determine the appropriate RAM size.