raid 5 reconstruction

Ensuring data protection and recovery is crucial in the current digital environment, and RAID 5 is a powerful safeguard for maintaining data redundancy and performance. Nevertheless, even the most resilient systems may encounter difficulties. 

The distribution of data across multiple drives, as well as its capability to provide both speed and resilience, is what makes RAID 5 a well-known option. However, its uniqueness lies in its ability to recover from drive failures effectively, made possible through the clever utilization of parity data.

In the event of an unforeseen circumstance where one of the drives within a RAID 5 array fails, the RAID 5 rebuild process can come to the rescue. This complex procedure involves reconstructing data and restoring redundancy. This blog post will explain the steps involved and the best practices and techniques for data recovery that follow RAID 5 reconstruction.

RAID 5 Configuration

A typical RAID 5 configuration consists of three or more hard drives. It uses data striping to improve performance and distributes parity data across these drives to provide fault tolerance. This configuration is popular for businesses that desire data protection without compromising performance, as it offers both speed and redundancy.

RAID-5

How to Rebuild RAID 5 Without Losing Data

Ensuring data recovery and fault tolerance during drive failure is crucial, and RAID 5 reconstruction plays a significant role in achieving this. This guide will look at the step-by-step process of reconstructing a RAID 5 array and avoiding data loss.

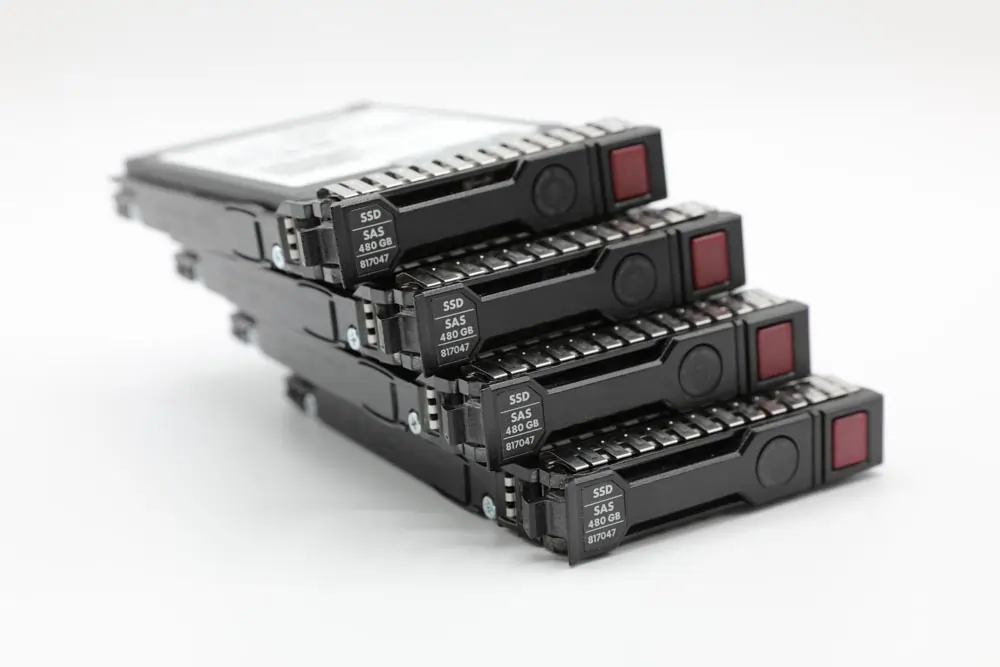
  • 1. Array Preparation

    Begin by thoroughly preparing the RAID array:

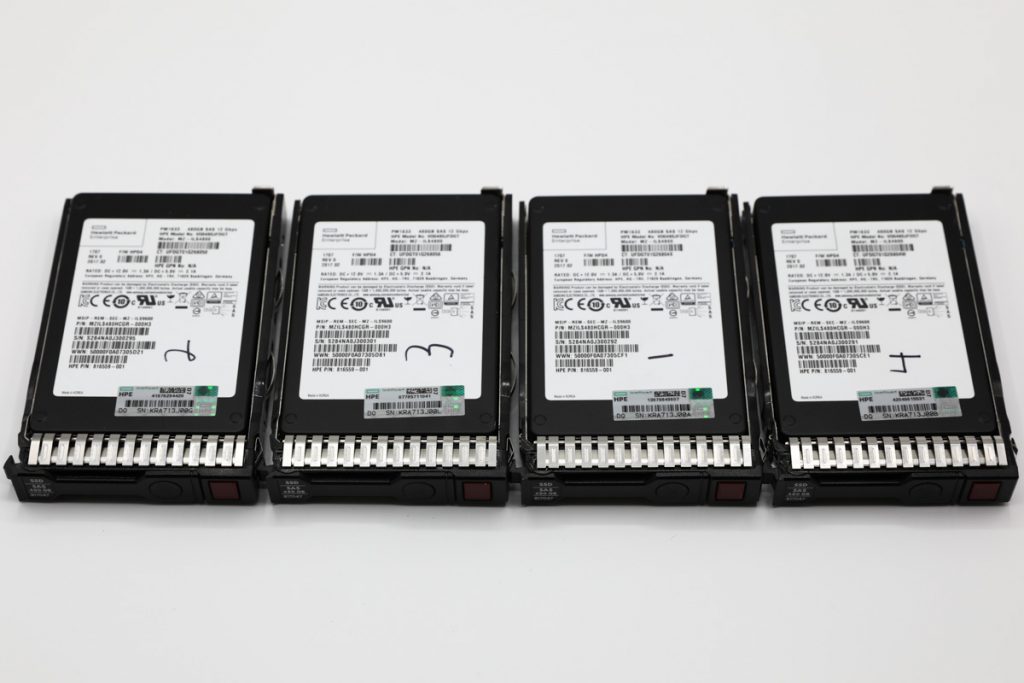
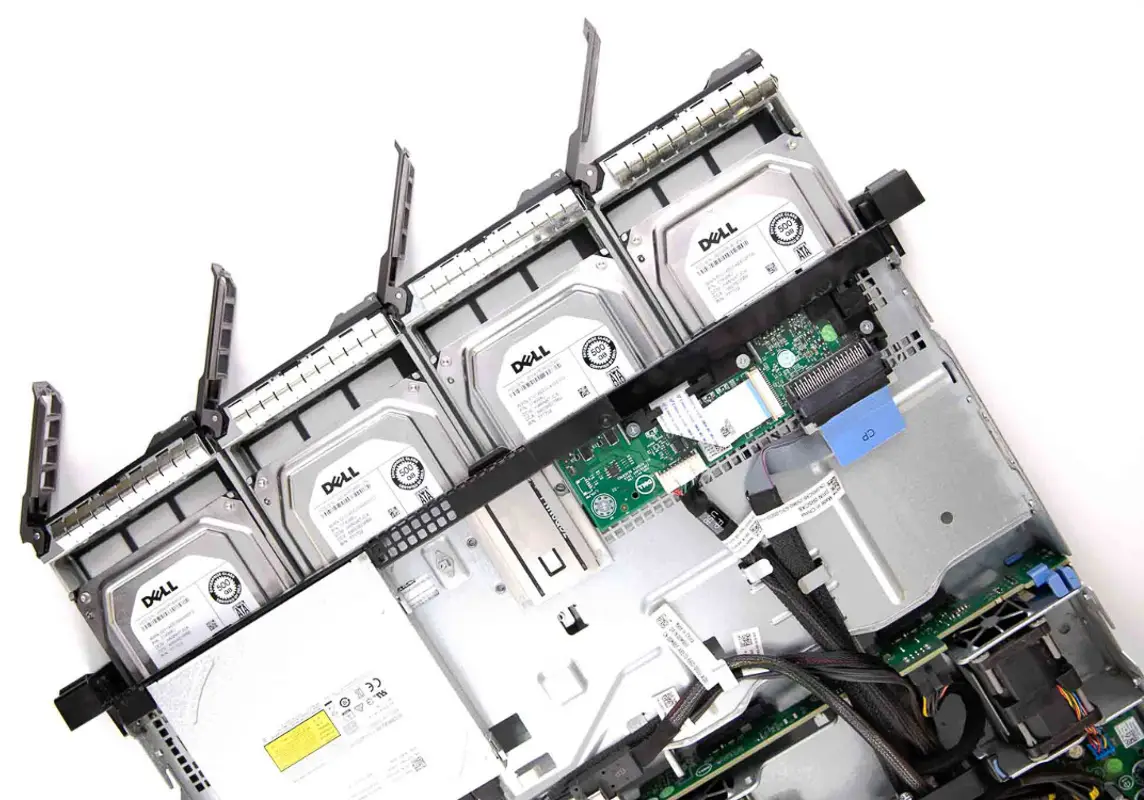
    • It is necessary to recognize and mark the hard drives, cables, wires, and ports while also taking note of the controller setup.
    • Having backups of critical data is essential to add an extra layer of security.

  • 2. Recover Array Parameters

    Recovering crucial array parameters can be made possible by using dependable RAID recovery software. The software can help interpret the arrangement of disks and parity information in the RAID 5 configuration.

  • 3. Rebuild the New Array

    Rebuilding the new array is the next step. If your RAID monitoring application and controller allow, try to rebuild the array without initializing the disks.

    Make sure to use the parameters provided by the RAID Recovery Software while doing this. It's crucial to be cautious during this process, as rebuilding the array with the incorrect disk order can lead to permanent data loss.

  • 4. Write Data to the New Array

    In the case of a hardware RAID setup, write the recovered data onto the newly reconstructed array. Afterward, attempt to mount the disk in the operating system that was previously used. If you lack a disk with sufficient capacity, consider building a temporary array to store your data. Under no circumstances should you write any data to the member disks of the original array during this phase.

  • 5. Copy Data Back

    After saving and verifying your data, the next step is to rebuild the original RAID 5 configuration. This process entails reconnecting all the disks to their corresponding ports and reconstructing the array using the RAID controller's settings.

  • 6. Monitor Progress

    Keep a close eye on the progress of the reconstruction process. RAID management tools usually come with a status indicator displaying the completion percentage. Depending on the size of your array, it may take several hours to complete this process.

  • 7. Do Not Interrupt the Process

    Interrupting the reconstruction process is a critical mistake as it may result in data loss or corruption. Ensure to keep the system powered on and avoid any disruptions in power or connectivity.

  • 8. Verify the Reconstruction

    After completing the reconstruction process, it is crucial to check the status of your RAID 5 array. Make sure that all the drives are in good working condition and the array is functioning well. Your RAID management software should show that the rebuild has been successful.

  • 9. Backup Your Data

    After the RAID 5 reconstruction is complete and your array is healthy, performing a full data backup is a good practice. This backup will serve as an additional layer of protection in case of future failures.

  • 10. Data Recovery After RAID 5 Reconstruction

    After successfully reconstructing your RAID 5 array, it's important to conduct data recovery checks. Open several big files to ensure data recovery integrity. This step provides peace of mind that your data has been restored accurately.

  • 11. Additional Considerations

    Various factors, such as the volume of data and the array's capacity, influence the duration required to RAID 5 reconstruction time. In general, smaller RAID configurations can be rebuilt promptly, whereas larger and more complex ones may take over 24 hours.

    You can effectively rebuild your RAID 5 array and secure your critical data by diligently following these steps and maintaining patience throughout the reconstruction process.

Each step of RAID array reconstruction must be meticulously executed to ensure successful data recovery. Always consult your RAID controller’s documentation and, if necessary, seek professional assistance to address any system-specific complexities. Exercise caution and attention to detail throughout the process.

Hidden
Request CallBack

Steps after RAID 5 Reconstruction

Once you have reconstructed your RAID 5 array, moving on to the critical phase of data recovery is important. This crucial step guarantees that your data has been accurately restored and remains both accessible and uncorrupted. Here’s the approach you should take when recovering data after RAID 5 reconstruction:

Verification is Key

Confirm the condition of the reconstructed RAID 5 array before attempting data recovery. Verify that all drives function properly and that your RAID management software reports the array as healthy. This preliminary examination is crucial for a successful data recovery process.

Open and Examine Files

Begin by opening and examining several large files from the array. The files should comprise different data types, such as documents, images, and videos. Through a comprehensive review, it can be ensured that data retrieval was successful and that no data was damaged during reconstruction.

raid-5-data-recovery

Cross-Check Data

Compare your retrieved data with your backups if you have any. This will provide additional confirmation that your data is correct and whole. Should any inconsistencies be identified, take prompt action to resolve them.

Test File Accessibility

Test the accessibility of your recovered files. Attempt to open and work with them to ensure they function as expected. Be especially vigilant with mission-critical data to avoid potential issues later.

Monitor for Anomalies

Always monitor the RAID array for anomalies or unexpected behavior. Keep a close watch on the system’s performance and responsiveness. Any unusual signs or errors should be investigated promptly to maintain data integrity.

Maintain Backups

Following data recovery, maintain regular backups of your critical data. Regular backups are a fundamental data protection component, serving as a fail-safe against future issues or failures.

Professional Assistance

Data recovery after RAID 5 reconstruction is a meticulous process that demands attention to detail. By verifying, testing, and monitoring your data, you can confidently ensure that your valuable information remains secure and accessible.

If you encounter difficulties or failures during data recovery after RAID 5 reconstruction, it is advisable to seek professional assistance. PITS Global Data Recovery Services is a reliable partner in data recovery, possessing the necessary expertise and tools to retrieve data from various storage devices and configurations. Our skilled technicians can analyze your situation, offer tailored solutions, and help you retrieve your crucial information.

Frequently Asked Questions

Replace the failed drive, initiate the rebuild process, and ensure you don’t interrupt it to prevent data loss.

The duration varies based on array size and complexity. It can range from a few hours for smaller arrays to over 24 hours for larger ones.

Identify the failed drive, replace it with a new one, prepare the replacement drive, initiate the rebuild, monitor progress, and verify the reconstruction.

The reconstruction time depends on data volume and array capacity, with smaller arrays taking less time and more complex ones taking longer, even over 24 hours.

Replace the failed disk, initialize the new one, initiate the rebuild process, and monitor until completion.

RAID 5 can withstand a single disk failure without data loss, but it becomes vulnerable to data loss if numerous disks fail simultaneously or during the rebuilding process.