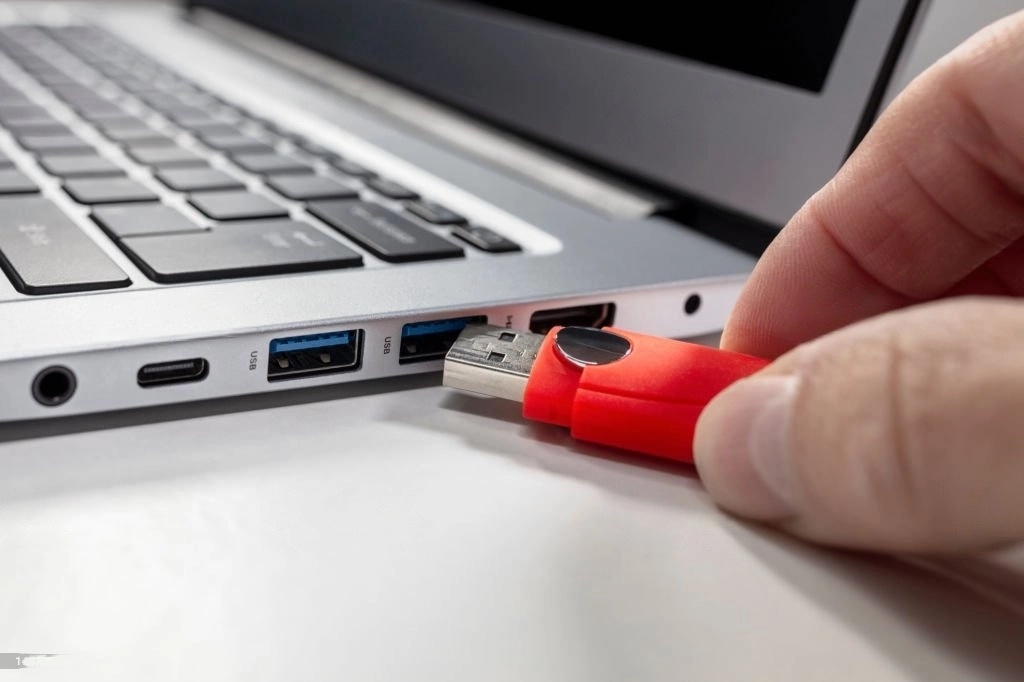
Connect the USB Flash Drive
Insert your USB flash drive into an available USB port on your computer. Ensure that your computer recognizes the drive and assigns a drive letter to it.
Open File Explorer
Navigate to "File Explorer" (Windows + E) and locate your USB flash drive under "This PC" or "My Computer."
Right-click and Select "Format"
Right-click on the USB flash drive and select "Format" from the drop-down menu.
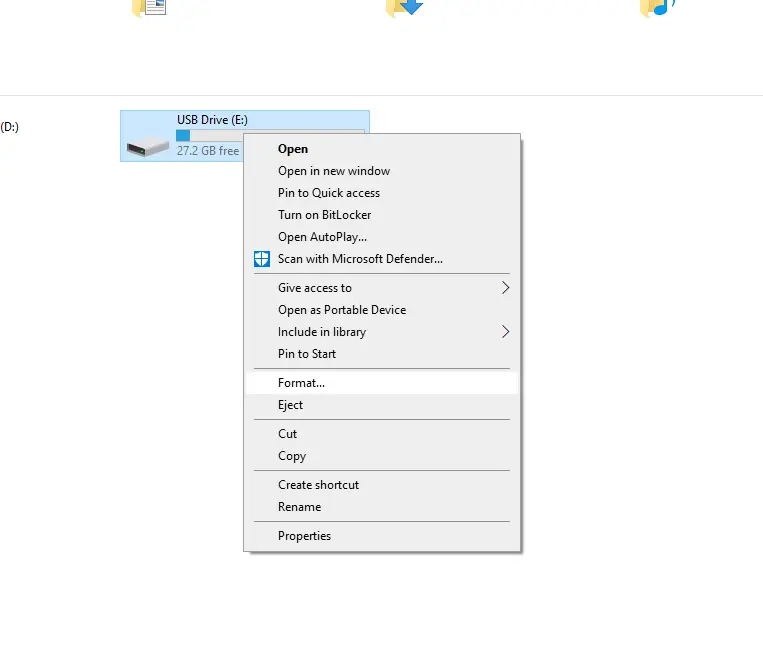
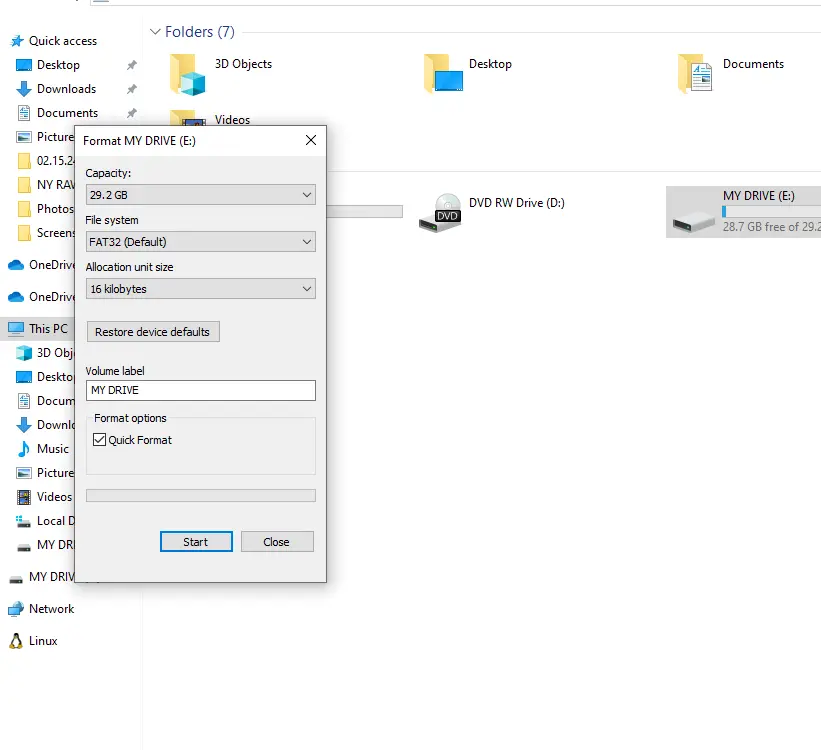
Choose the Formatting Options
A new window will open with various formatting options. You can set the desired file system (NTFS, FAT32, exFAT), allocation unit size (default is usually recommended), and volume label (a name for your flash drive).
Perform a Quick Format
To quickly format the flash drive, ensure the "Quick Format" option is checked. This will save time compared to a full format.
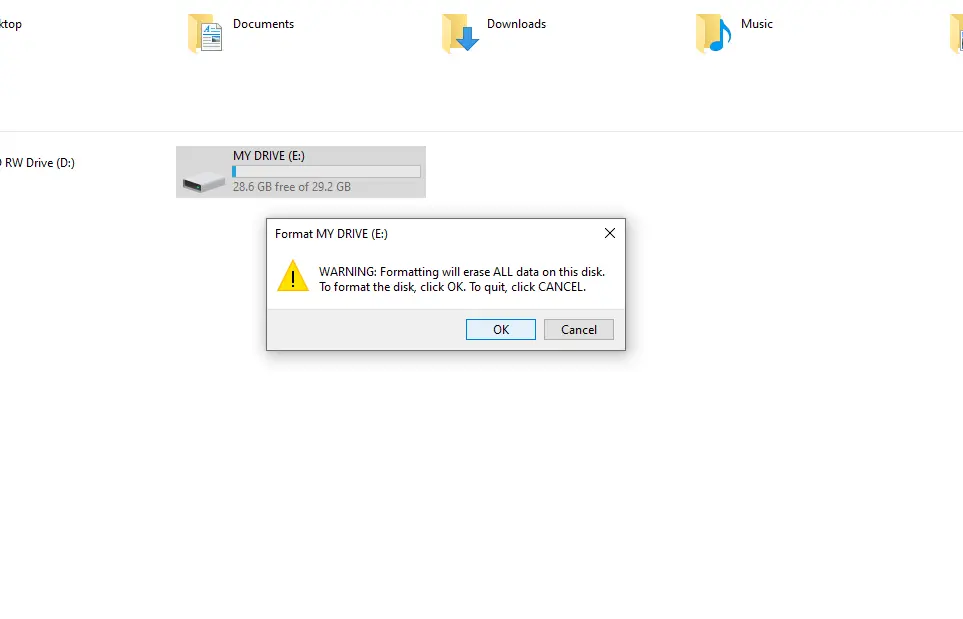
Click "Start"
Double-check your settings, then click the "Start" button to initiate the formatting process. A confirmation dialog will appear; click "OK" to proceed.
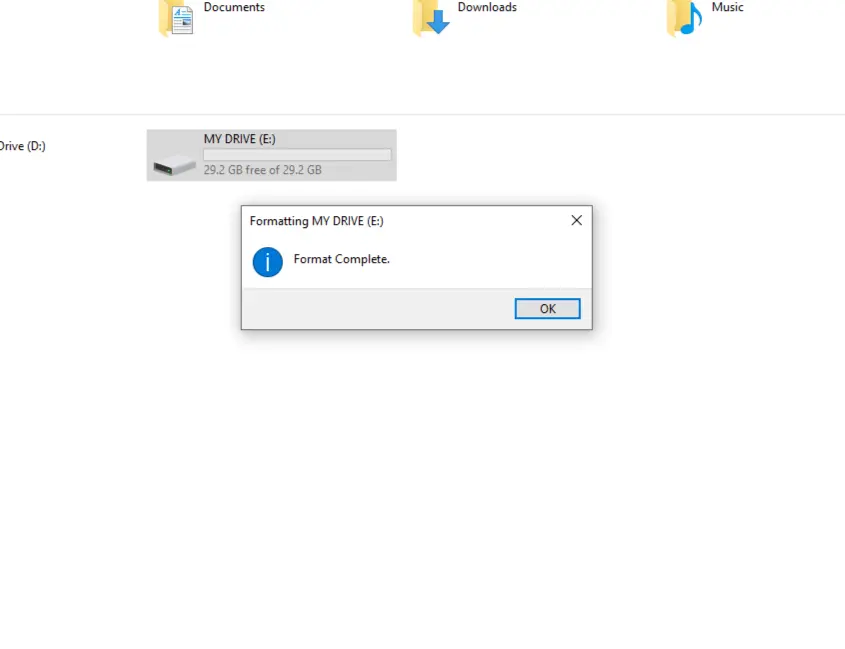
Wait for Formatting to Complete
The time taken to format the drive will depend on the size and speed of your computer. Once the process finishes, you'll see a confirmation message.
Connect the USB Flash Drive
Insert your USB flash drive into an available USB port on your Mac. The Mac OS should automatically detect and mount the drive.
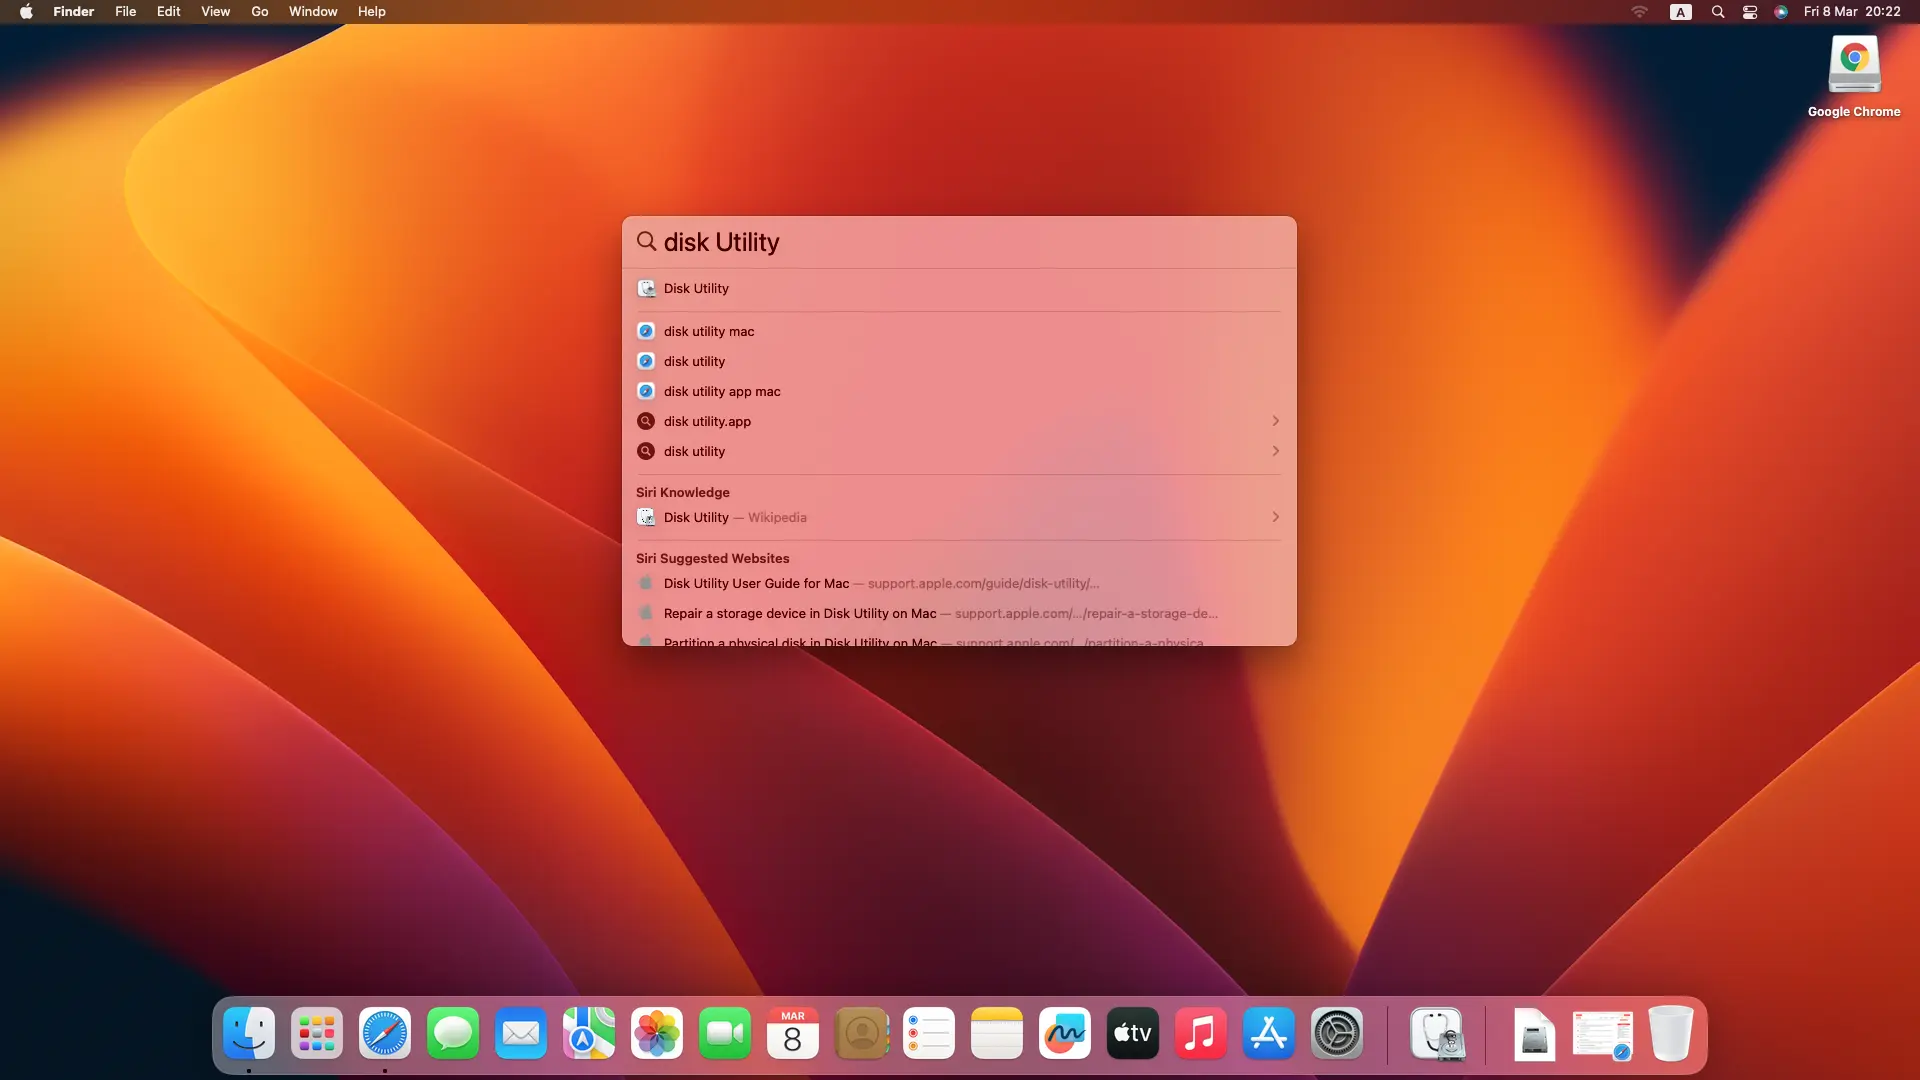
Open Disk Utility
Go to "Finder," then "Applications," followed by "Utilities." Here, you'll find "Disk Utility." Alternatively, you can use Spotlight Search (Command + Space) to find and open Disk Utility.
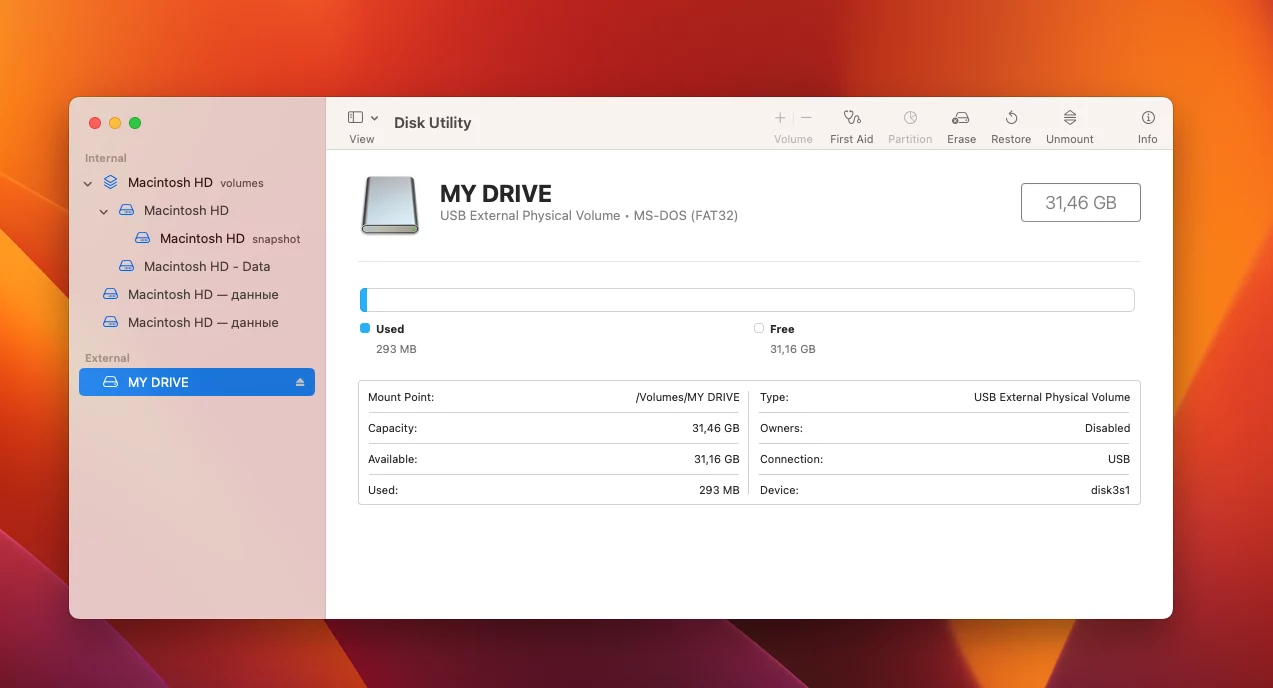
Select the USB Flash Drive
In the Disk Utility window, you'll see a list of storage devices. Locate your USB flash drive in the left sidebar and select it.
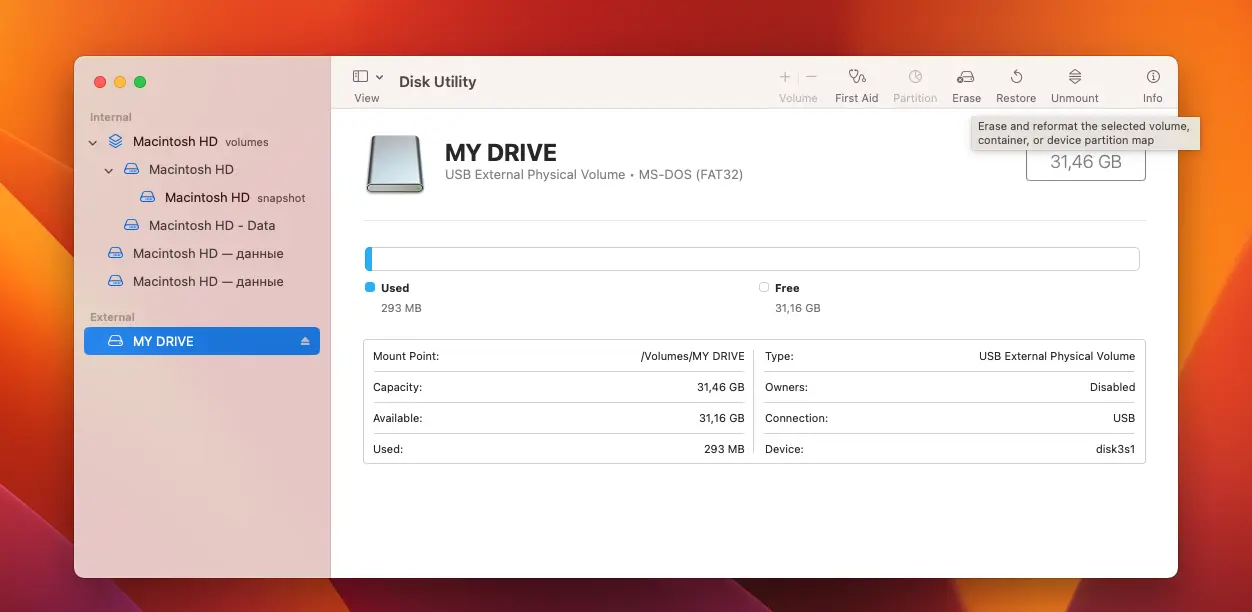
Erase the Drive
Click on the "Erase" button at the top of the window. A new window will appear with formatting options.
Choose the File System
From the "Format" drop-down menu, select the desired file system. For compatibility with both Mac and Windows, choose "MS-DOS (FAT)" (also known as FAT32) or "exFAT."
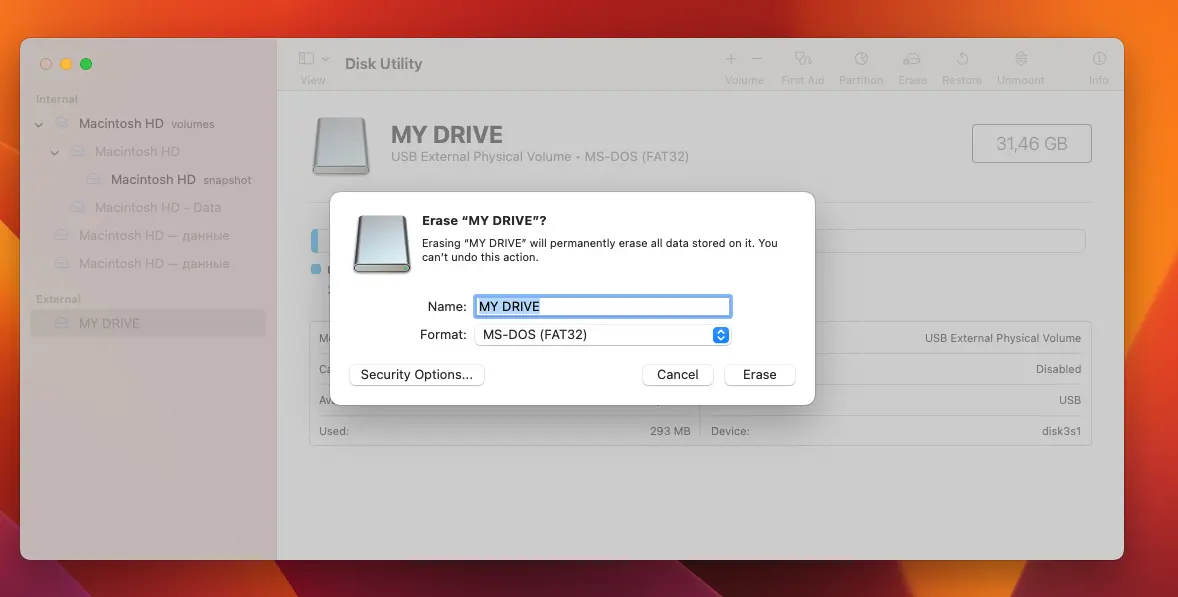
Rename and Choose Scheme (Optional)
You can enter a new name for your flash drive in the "Name" field. If you don't plan to use the drive with older Macs, you can leave the scheme as "GUID Partition Map."
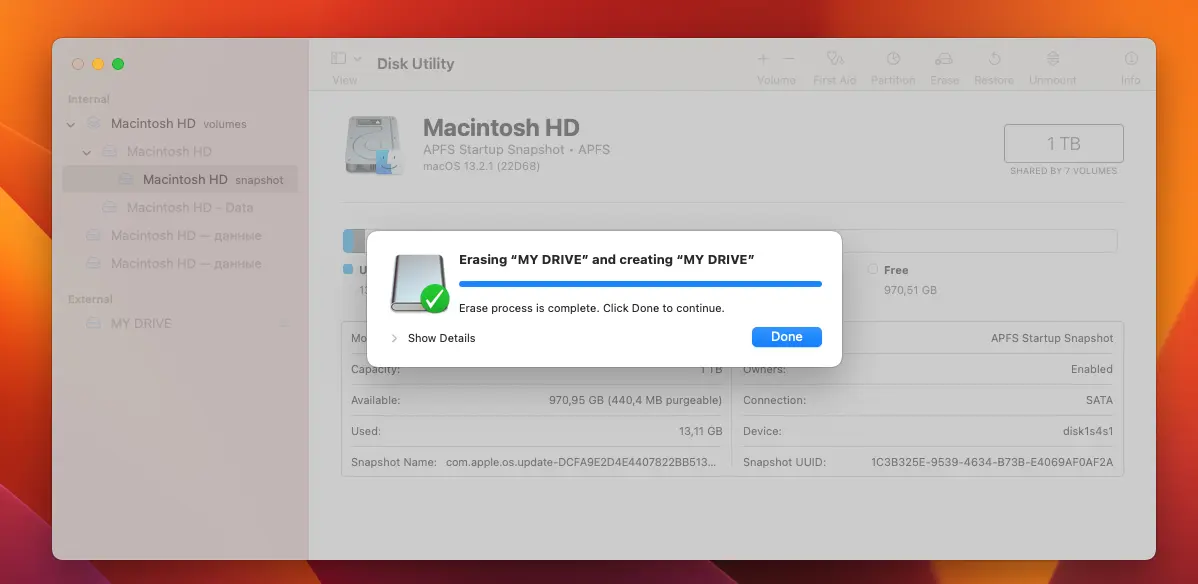
Perform the Format
Finally, click the "Erase" button to begin the formatting process. A confirmation dialog will appear; click "Erase" to proceed.
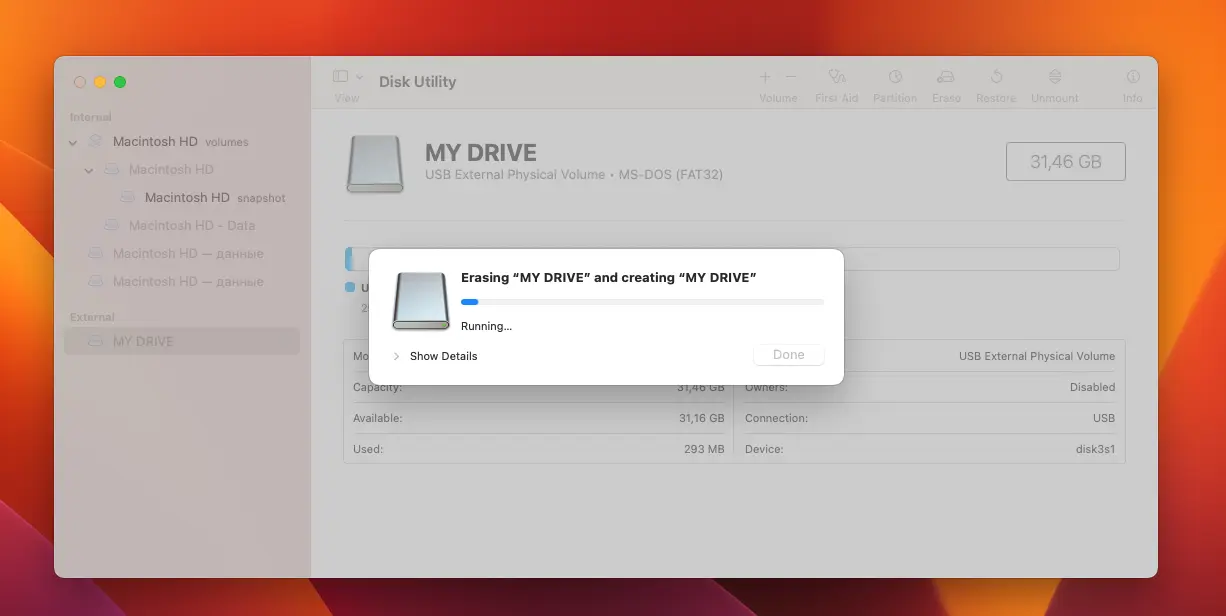
Wait for Formatting to Complete
The time taken for the formatting process will depend on the drive's size and your Mac's performance. Once done, Disk Utility will display a confirmation message.