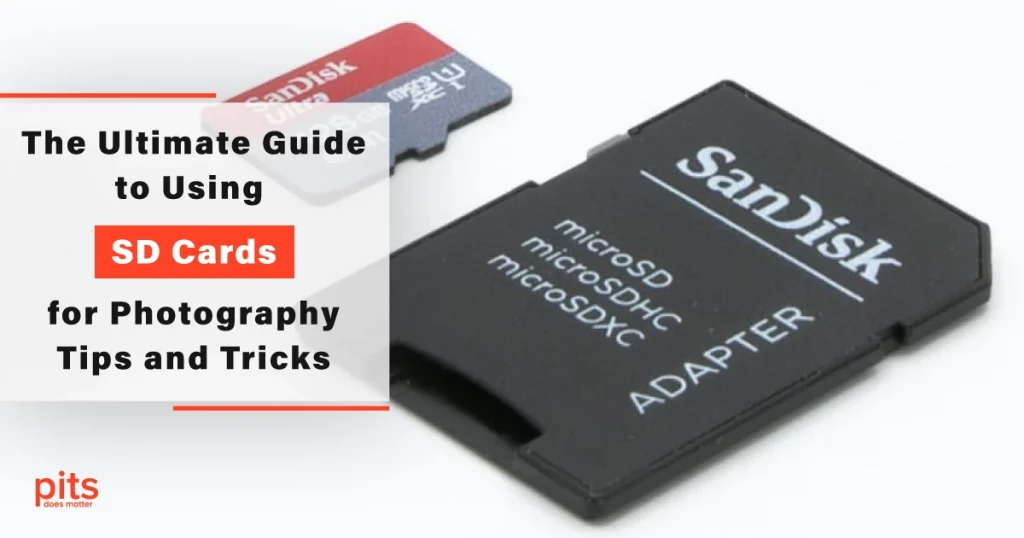
In the fast-paced world of photography, having ample storage space for your high-resolution images is crucial. Enter the SD card, a compact and versatile solution that has become a staple for photographers of all levels. Whether you’re a professional with a top-of-the-line DSLR or an enthusiast capturing moments with your Android device, mastering the art of using SD cards can greatly enhance your photographic experience. In this comprehensive guide, we will delve into the tips and tricks that can help you make the most of your SD cards for photography.
Understanding SD Cards: The Basics
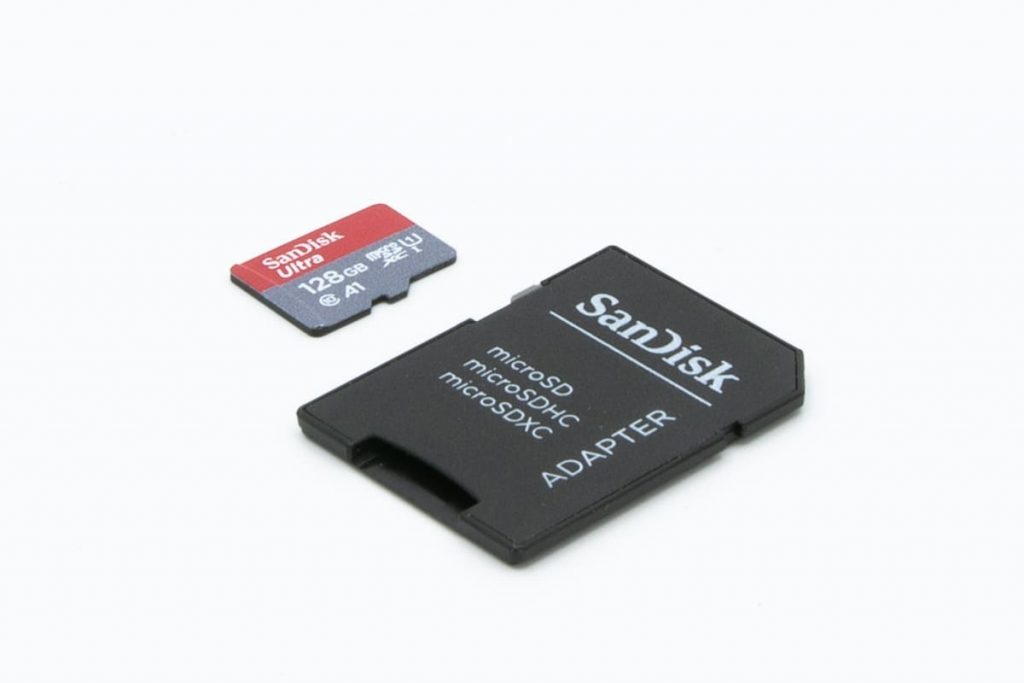
Before we dive into the tips and tricks, let’s get a quick refresher on SD cards. SD stands for Secure Digital, and these small, portable memory cards are designed to provide additional storage space for a wide range of devices, from cameras to smartphones and even laptops. They come in various sizes and capacities, with microSD cards being the most common for mobile devices and cameras.
Choosing the Right SD Card for Your Photography Needs
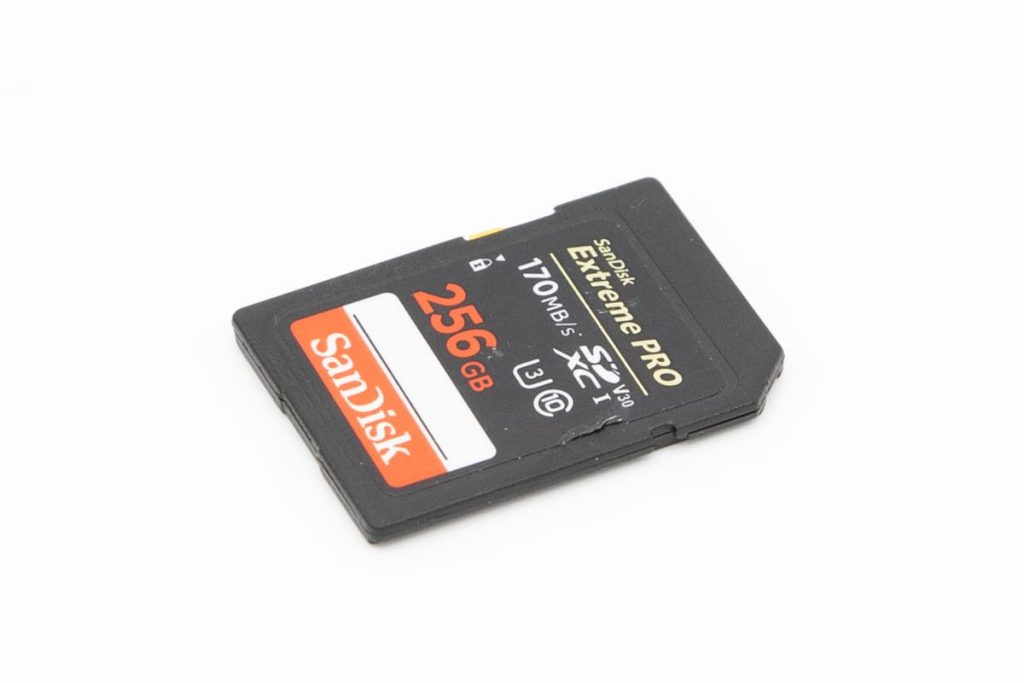
The first step in optimizing your photography storage is selecting the right SD card. Factors to consider include capacity, speed class, and whether you need features like waterproofing and shock resistance. For photography, a card with a higher capacity and a higher speed class (like UHS-I or UHS-II) is recommended to ensure smooth capture and transfer of high-resolution images.
Inserting and Removing the SD Card
Using an SD card with your Android device or camera is a breeze. To insert the card, locate the microSD card slot (usually found under a flap or cover) and gently slide the card into the slot, contacts side down. On Android devices, you can find the slot by removing the back cover or, in some cases, accessing it from a side tray. To remove the card, push it in slightly to release it, then carefully pull it out.
Formatting an SD Card
Before using a new SD card, especially one you have just purchased, it is a good idea to format it. Formatting prepares the card for use and helps prevent potential compatibility issues. To format an SD card on an Android device, follow these steps:
- Open the “Settings” app from your home screen or app drawer.
- Scroll down and tap on “Storage” or “Device Maintenance,” depending on your device’s version and manufacturer.
- Tap on “SD Card” or “Portable Storage.”
- Tap on “Format” or “Format SD Card.”
- Confirm your choice, and the device will begin formatting the card.
Keep in mind that formatting erases all data on the card, so make sure to back up any important files before proceeding.
Using an SD Card as Internal Storage
Running low on storage space? Some Android devices allow you to use an SD card as internal storage, effectively expanding your device’s available space. This can be incredibly useful for storing large photo libraries. Here’s how to do it:
- Insert the SD card into your device.
- When prompted, choose to set up the SD card as internal storage.
- The device will format the card and migrate appropriate data.
Be aware that once you have set up the SD card as internal storage, it becomes tied to that specific device. Removing the card may cause some apps to malfunction or data to be inaccessible.
Moving Files to the SD Card
To free up space on your device’s internal storage, you can move files, including photos and videos, to the SD card. Follow these steps:
- Open the “Settings” app and navigate to “Storage.”
- Tap on “Internal Storage.”
- Select “Files” or “Explore” to access your device’s file manager.
- Browse to the location of the files you want to move (often under “DCIM” for photos and “Movies” for videos).
- Long-press on a file to select it, then tap on other files you want to move.
- Tap the menu button (usually represented by three dots) and choose “Move” or “Move to.”
- Select the SD card as the destination and confirm.
Managing Your SD Card
Regularly managing your SD card can help prevent issues and ensure optimal performance. Here are a few tips:
Regular Backups
Back up your photos to a computer or cloud storage to prevent data loss in case the card becomes damaged or corrupted.
Eject Safely
Before removing the SD card, use your device’s software to eject it safely. This helps prevent data corruption.
Check for Errors
Periodically scan the SD card for errors using your device’s built-in tools or third-party apps.
Update Firmware
Some SD cards have firmware updates that can improve compatibility and performance. Check the manufacturer’s website for updates.
Troubleshooting SD Card Issues
If you encounter issues with your SD card, such as it not being recognized or photos not saving properly, here are a few troubleshooting steps:
- Restart: Sometimes, a simple restart of your device can resolve minor issues.
- Reinsert the Card: Remove the card, give it a gentle wipe with a clean cloth, and reinsert it.
- Check for Damage: Inspect the card for physical damage or dirt. Clean the contacts with a soft, lint-free cloth if needed.
- Test in Another Device: If the card is not working on one device, try it on another to determine if the issue is with the card or the device.
- Backup and Format: If all else fails, back up your data, format the card, and test it again.
Optimizing SD Card Performance for Photography
To optimize your SD card’s performance for photography, consider these advanced tips:
High-Quality Files
Set your camera to capture high-quality images and videos that fully utilize the card’s capabilities.
Continuous Shooting
If you often capture fast-moving subjects, choose a card with a high write speed to handle continuous shooting.
Avoid Overfilling
To prevent slowdowns, avoid filling the card to its maximum capacity. Aim to leave some space for smooth operation.
Regular Maintenance
Periodically format the card in your camera to maintain optimal performance.
Future of SD Cards and Photography
As technology evolves, so do storage solutions. While SD cards remain a reliable choice for now, advancements like cloud storage and built-in multi-terabyte options could reshape how photographers store and manage their images.
In conclusion, mastering the use of SD cards for photography can greatly enhance your shooting experience and streamline your workflow. By choosing the right card, properly formatting and managing it, and utilizing advanced optimization techniques, you will ensure that your photographic journey is smooth and uninterrupted. So, next time you are capturing breathtaking landscapes or candid moments, you will have ample storage space to bring your creative vision to life.
Remember, whether you’re inserting that tiny memory card into the slot or transforming your SD card into internal storage, these steps are the building blocks of an organized and efficient photography adventure. So grab your camera, insert that card, and start capturing memories that will last a lifetime. Happy shooting!
Frequently Asked Questions
What is an SD card?
An SD card, which stands for Secure Digital card, is a small, portable storage device used to store data such as photos, videos, documents, and more. It’s commonly used in cameras, smartphones, laptops, and other electronic devices to expand their storage capacity.
How do I insert an SD card into my device?
To insert an SD card into your device, locate the microSD card slot. On most devices, this slot is typically found under a cover or flap. Insert the card with the contacts facing down and gently slide it into the slot until it clicks into place. Make sure not to force it, as it should fit smoothly.
Can I use the same SD card in different devices?
Yes, you can use the same SD card in different devices as long as they have compatible SD card slots. For instance, if you have an SD card with your photos on it, you can use it in a camera, smartphone, or laptop that supports SD cards.
Why should I format my SD card?
Formatting an SD card prepares it for use, erasing any existing data and setting up a file system that the device can understand. It helps prevent potential compatibility issues and ensures the card works optimally with your device. Just remember that formatting will delete all data on the card, so be sure to back up important files before doing so.
How do I safely remove an SD card from my device?
To safely remove an SD card from your device, follow these steps:
- On your device, find the option to “Eject” or “Unmount” the SD card. This is usually found in the settings or notifications menu.
- Once you’ve ejected the card, wait for a confirmation message or until the device indicates it’s safe to remove.
- Gently push the card in slightly to release it from the slot.
- Carefully pull the card out.