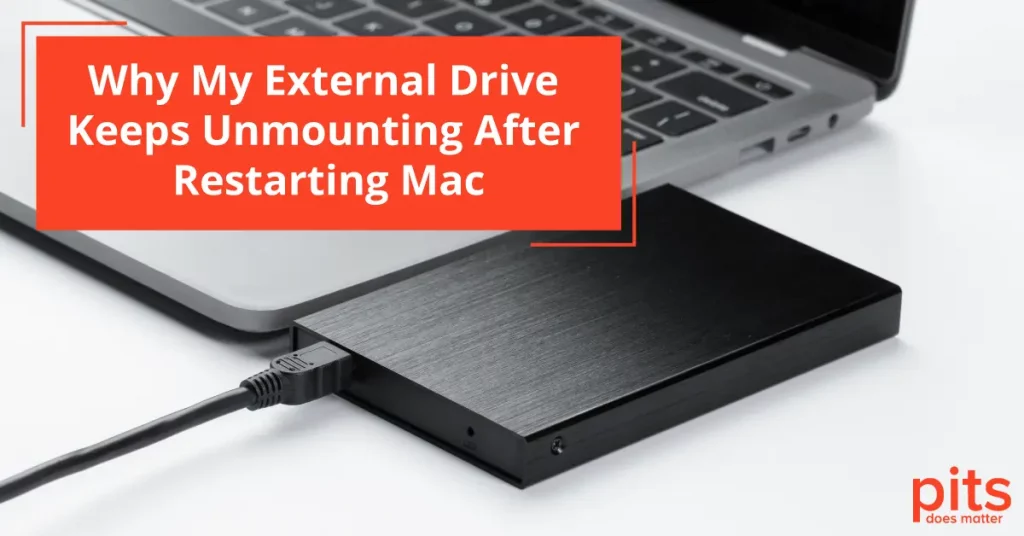
In a world that is becoming increasingly digital, our external drives have transformed into valuable digital vaults, safeguarding important files. These external drives, especially for Mac users, have become essential for expanding storage and preserving their digital existence.
However, there’s a frustrating issue that many Mac owners have encountered: external drives unmounting after a system restart. This unforeseen setback could disturb your work process, jeopardize data integrity, and leave you pondering a resolution.
In this blog post, we’ll delve into the typical reasons behind this problem, present practical troubleshooting techniques. Additionally we’ll suggest preventive measures to safeguard your valuable data and guide you in case you need professional help.
External Drive not Mounting Mac - Common Causes
External drives are valuable to your Mac setup, offering additional storage and convenience. Nevertheless, they may occasionally demonstrate the bothersome tendency to unmount after a system restarts or while in use. Identifying the underlying reasons behind this problem is the initial stride toward resolving it. Here are the primary factors responsible for this behavior.
Insufficient Power Supply
External hard drives typically need an external power supply to function correctly. In cases of insufficient power, they may sudden detach.
Make sure your drive is connected to a power outlet, especially if it doesn’t rely solely on the USB or Thunderbolt connection for power.
Loose or Damaged Cables
The connections between your Mac, the external drive, and the power source must be secure.

Please inspect the cables and connectors for any signs of looseness or damage. If a connection is loose, it might lead to the drive getting disconnected.
Drive Compatibility Issues
External drives can vary in compatibility with your Mac, as not all are created equal.
Ensure your drive syncs with your macOS version and Mac model. Incompatibilities may result in problems with unmounting.
File System Errors
File system errors on the external drive can lead to unexpected unmounting.
Utilize macOS’s built-in Disk Utility to check and repair any file system errors on the drive.
macOS Updates
Updating your Mac’s operating system can sometimes fix compatibility issues with external drives.
Ensure that your macOS and external drive’s firmware or drivers are up to date to avoid potential conflicts.
Determining the root cause of your external drive getting unmounted is the initial step in troubleshooting and fixing the problem. In the next section, we will explore precise measures to assist you in effectively resolving these concerns.
External Hard Drive not Mounted Mac - Troubleshooting Steps
If you are facing with the issue external hard drive keeps disconnecting mac, it’s time to get hands-on and troubleshoot the problem. Here’s a step-by-step guide to help you identify and fix the issue:
Verify the Hardware
1
Check Cables and Ports
Start by checking the fundamentals. Ensure the cables and connectors linking your Mac and the external drive are firmly in place and free from any signs of damage. Swap out the wires if you have spares to rule out cable issues.
2
Test the Drive on Another Computer
To determine whether the problem is with your Mac or the drive, connect the external drive to a different computer. If the drive functions properly on another system, it suggests that the issue may be specific to your Mac.
3
Ensure the Power Source Is Stable
Make sure that the power source for your external drive, if it needs external power, is stable and provides the necessary power. Power fluctuations can lead to unexpected unmounting of drives.
Reformat the External Drive
It is important to back up all the information on the external drive before proceeding with the reformatting process to avoid losing data. You can use Time Machine or manually copy the data to a different storage device.
Reformat the Drive Using Disk Utility
- Open Disk Utility from the Applications > Utilities folder.
- Pick the external drive from the list on the left.
- Click on the “Erase” button.
- Select a file system format (usually macOS Extended or APFS) and a name for the drive.
- Click “Erase” to reformat the drive.
- After reformatting, transfer your data back to the drive.
macOS Disk Utility
Using First Aid
- Launch Disk Utility from the Applications > Utilities folder.
- Select the external drive from the list.
- Click the “First Aid” button in the top menu.
- Allow Disk Utility to run its checks and repair any file system errors it finds.
- Restart your Mac and check if the drive continues to unmount.
Repairing Disk Permissions
- In Disk Utility, choose the drive.
- Click on the “First Aid” tab.
- Under “Performing First Aid,” select “Macintosh HD.”
- Click “Run” to repair disk permissions.
Update macOS and Drivers
Compatibility problems with external drives can arise from using outdated software. Ensure you keep your macOS and the drivers or firmware for your external drive updated.
You can check for macOS updates in the Apple menu > System Preferences > Software Update.
Following these troubleshooting steps can help you diagnose and resolve the issue of your external drive unmounting on your Mac. If the problem persists, explore further solutions and consider professional assistance.
Mac External Hard drive not Mounted - Preventative Measures
Avoiding problems caused by external drive unmounting is often simpler than resolving them. Here are a few proactive steps you can take to prevent these frustrating issues:

Safely Ejecting Drives: Always properly eject your external drives by selecting the “Eject” option in Finder or the menu bar. This guarantees that all data is saved and the drive is safely disconnected.
Regular Backups: Ensure you regularly create copies of your data and store them in an alternate location, such as an external drive or cloud service. By doing so, you can protect your crucial files in case your primary drive encounters unforeseen problems.
Keep Your macOS and Drivers Updated: Keep up-to-date with macOS updates and drivers or firmware for external drives. These updates frequently include fixes for issues and enhancements for compatibility.
Using Quality Cables and Adapters: To ensure trustworthy connections, investing in top-notch cables and adapters is advisable. Using inexpensive or damaged lines may result in connectivity issues and cause drive dismounting.
By taking these precautionary steps, you can reduce the chances of encountering problems with external drive unmounting and ensure the dependability of your Mac’s external storage options.
Frequently Asked Questions
How to mount an external hard drive on Mac?
To connect an external hard drive to your Mac, use the correct cable and attach the drive to your computer. It will either appear on your desktop or in the Finder automatically. If it doesn’t, you can manually mount it by opening the Finder, choosing the drive from the “Devices” section in the sidebar, and clicking on the “Mount” option.
Why is my Mac not reading my external hard drive?
If your Mac is unable to detect your external hard drive, it may be because of problems such as a defective cable, a damaged drive, or incompatible file systems. Make sure the cable and connections are securely attached, and verify if the drive is correctly formatted for Mac. Running Disk Utility to address any file system errors could potentially provide a solution.
How do I stop my external hard drive from going to sleep on Mac?
To prevent your external hard drive from entering sleep mode on a Mac, you can modify your Energy Saver preferences. Navigate to System Preferences > Energy Saver, access “Options,” and deselect the “Enable hard disks to sleep when possible” choice. This will ensure that your external drive remains operational.
Why does my external hard drive keep ejecting itself on Mac?
If external hard drive unexpectedly disconnects, it could be due to factors such as loose connections, power fluctuations, or errors in the file system. Start by confirming that all cables and connections are securely attached. Additionally, check the power source and switch t-o a different one if necessary. Running the Disk Utility’s First Aid feature can assist in identifying and resolving any file system problems that may be triggering the ejections.