RAID, which stands for Redundant Array of Independent Disks, combines multiple disks into a single logical unit to improve data storage, read and write performance, and fault tolerance. RAID configurations have become increasingly popular as they provide an effective solution for businesses and individuals requiring high-speed, reliable data storage. Configuring RAID in Windows 10 can be a bit complex, but with the right guidance, you can easily set it up. In this post, we will walk you through the steps required to configure RAID in Windows 10.
Types of RAID
Several RAID levels are available for implementation, each offering its own benefits and drawbacks. The most common RAID levels include RAID 0, RAID 1, RAID 5, and RAID 10.
RAID 0 is a configuration that splits data across multiple disks, thereby improving read and write performance. It does not offer any fault tolerance, which means that if a single drive fails, all data stored on that RAID configuration will be lost. This configuration is best suited for applications that require high read-and-write performance but do not need data redundancy or fault tolerance.
RAID 1 provides fault tolerance by mirroring data across multiple disks, ensuring that there is always a backup in case one drive fails. RAID 1 requires at least two disks and offers excellent data protection.
However, it does come at the cost of reduced storage capacity and read performance.
RAID 5, on the other hand, combines three or more disks with one disk reserved for parity data. This configuration offers fault tolerance and better read and write performance than RAID 1.
Nevertheless, it requires at least three disks and can be complicated to implement. RAID 10 is a combination of RAID 0 and RAID 1, which provides both improved read and write performance and data redundancy. This configuration requires at least four drives, and it can be expensive to implement.
How to Set up a RAID in Windows 10
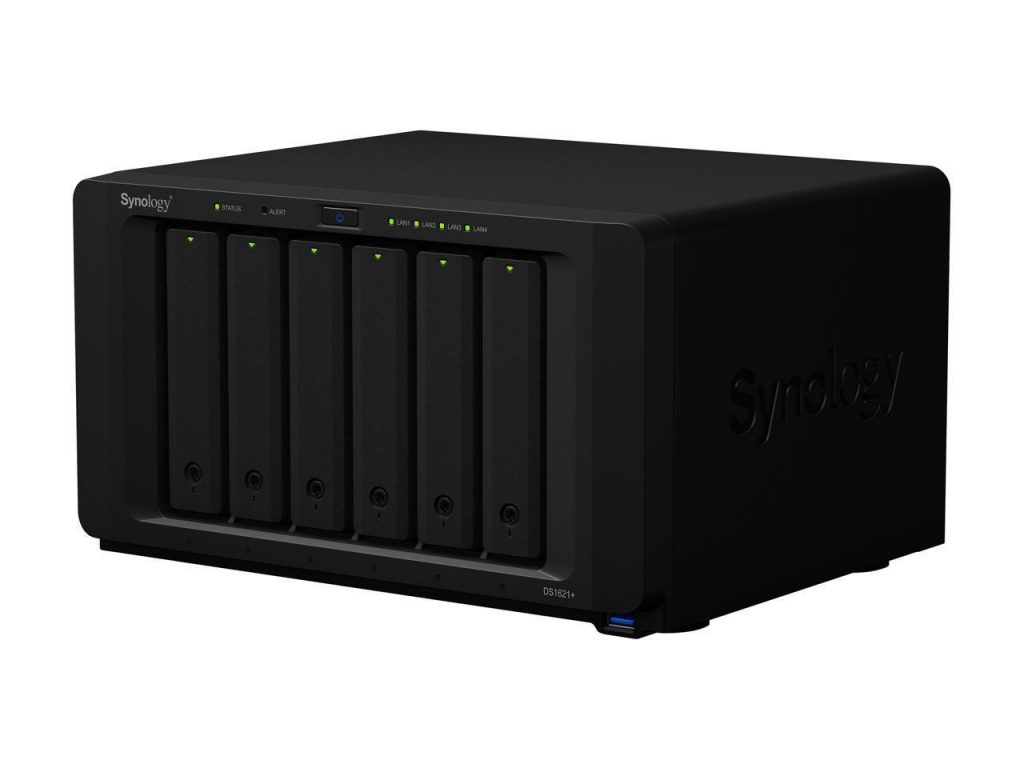
To implement RAID configurations in Windows 10, a RAID controller is necessary. This can be a hardware RAID controller, a physical device connecting to the motherboard, or a software RAID controller built into the operating system. A hardware RAID controller provides the best performance and fault tolerance, but it requires at least four drives. The RAID controller manages all read and write operations, and the operating system sees only a single drive.
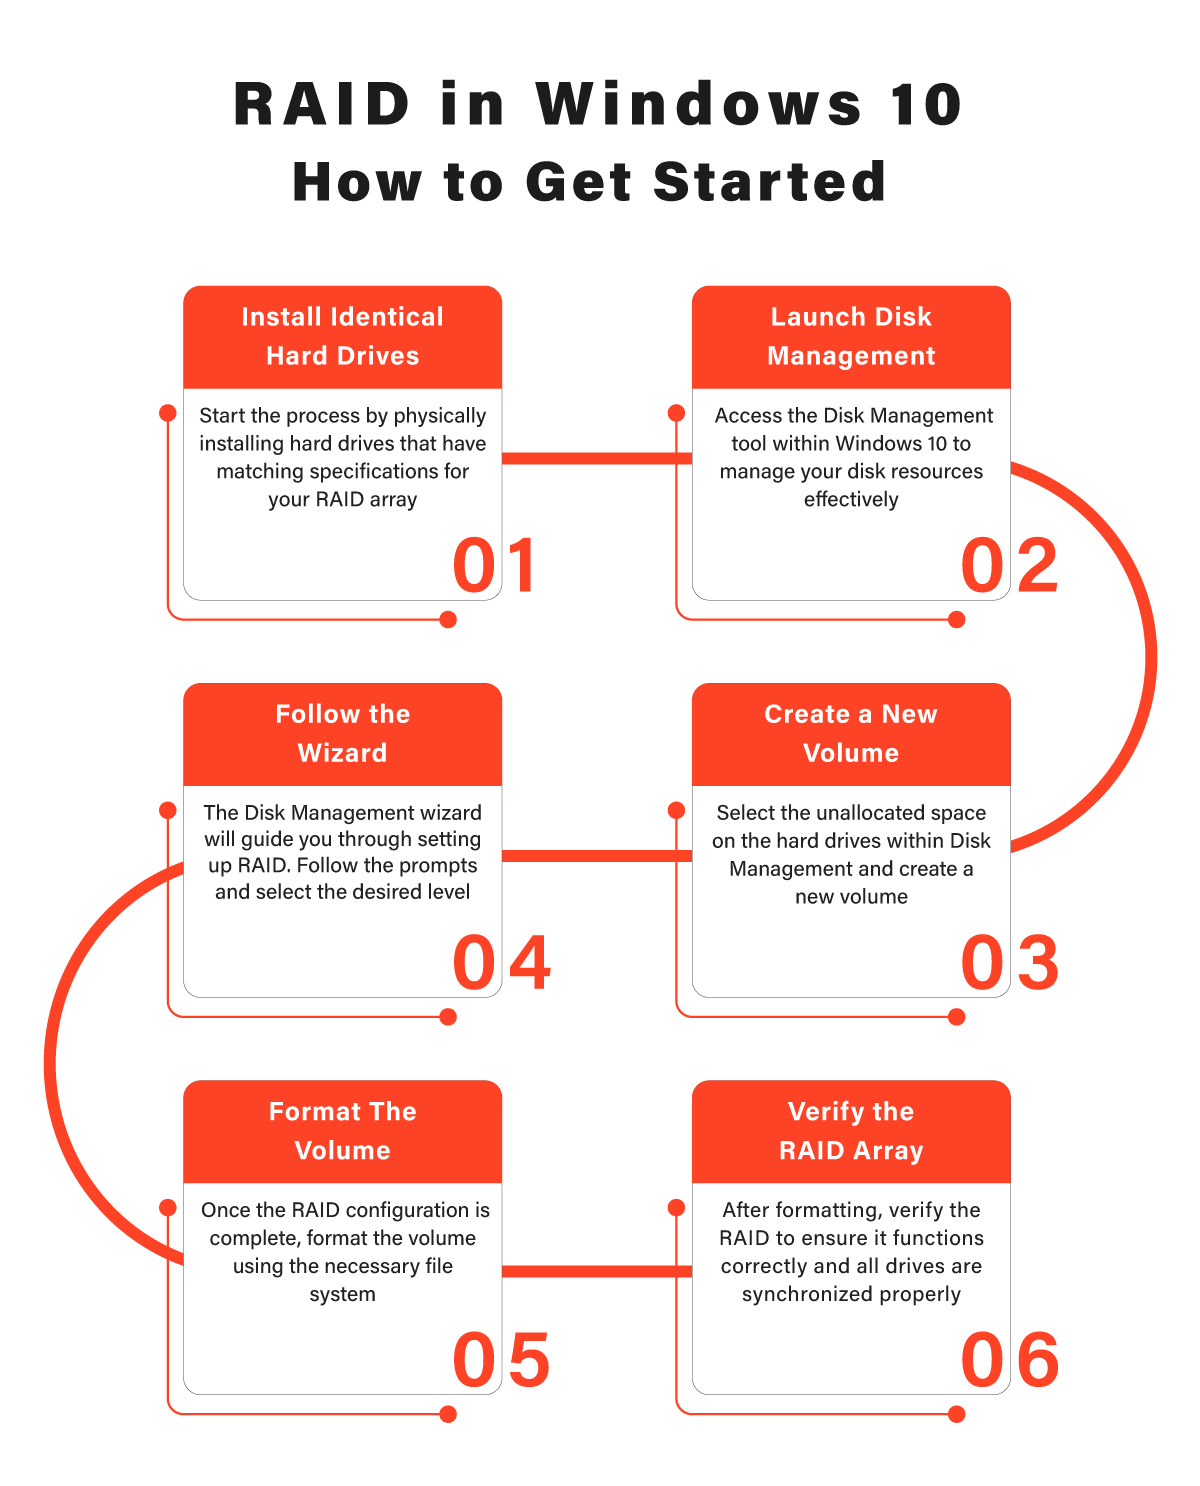
Install identical hard drives
You must have identical hard drives to set up a RAID array in Windows 10. The hard drives should have the same capacity, speed, and interface.
Launch Disk Management
After installing the hard drives, launch Disk Management in Windows 10 by right-clicking the Windows button and selecting Disk Management from the menu.
Create a new volume
In Disk Management, right-click on the unallocated space of the hard drive you want to use for your RAID array and select “New Mirrored Volume.” The New Mirrored Volume wizard will open.
Follow the wizard.
Follow the steps in the New Mirrored Volume wizard to create a new volume. You will be prompted to select the disks you want to use for the RAID array, assign a drive letter, and format the volume.
Make sure to select the required hard drives that you want to use for your RAID array.

Format the volume
After selecting the disks, you will be prompted to format the volume. You can choose the file system and allocation unit size that you want to use for the volume. Once formatted the book, click “Finish” to create the RAID array.
Verify the RAID Array
After creating the RAID array, you can verify it works correctly by checking the Disk Management utility. The Disk Management utility will display the RAID as a single drive.
RAID Data Recovery with PITS
In the event of data loss from a RAID system, our team of experts is equipped with advanced knowledge and state-of-the-art techniques to retrieve lost data with unparalleled precision. Furthermore, we work in modern facilities and leverage the latest tools to guarantee successful data recovery. Upon receipt of the device at our facility, we initiate its evaluation process.
Our engineers conduct a comprehensive examination of the media to determine the cause of data loss, assess the extent of damage, and evaluate the probability of successful recovery. Using this information, we select the optimal recovery approach.
Benefits of Our Using Services

If you’re facing a data loss situation, don’t hesitate to contact us. Our 24/7 data recovery services are available to you, 365 days a year. Let us help you recover your precious data today.

We start the recovery process with a risk-free evaluation. Our technicians estimate reasons for data loss and the level of damage. Based on it, we select the most suitable recovery strategy.

With years in the data recovery industry, our company supports the highest customer satisfaction rate. We do everything to provide a positive experience for our clients.
During our remote customer file verification session, you will thoroughly review all necessary documents and records to ensure accuracy and compliance.

We offer data recovery services from over 50 locations across the US. This means that no matter where you are located, you can access our services to recover the data.

With our certified data recovery services and 99% success rate, we are confident that we can recover your precious data and get you back up and running in no time.
In addition, we furnish our clients with a detailed service quote that includes pricing details and turnaround time. We specialize in restoring data from various storage devices such as hard disk drives, solid-state drives, servers, and tapes. Our expertise encompasses all operating systems, file types, and file systems.
We are readily available to assist you if you encounter data loss issues on any RAID level. Our team will be delighted to address your concerns and provide you with the necessary support.
FAQ - How to Set up RAID in Windows
What is RAID, and why is it beneficial to implement on Windows 10?
RAID technology combines multiple physical disks to create one or more logical units, enhancing redundancy, performance, or both. By setting up RAID on your Windows 10 PC, you can elevate data security and enhance read/write speeds, contingent on the RAID level you opt for.
What RAID levels can I configure on Windows 10, and which should I choose?
Windows 10 mainly offers support for RAID 0 (striping), RAID 1 (mirroring), and RAID 5 (striping with parity) using Storage Spaces. Your selection of RAID level should align with your specific requirements: RAID 0 for speed, RAID 1 for safeguarding data, and RAID 5 for a mix of performance and protection.
Can I use external drives to create a RAID array in Windows 10?
Windows 10 enables using internal and external drives, such as USB drives, to establish a RAID array using Storage Spaces. It is crucial to keep the external drives connected to preserve the integrity of the array.
How do I enable RAID in Windows 10?
How do I enable RAID in Windows 10?
You must have a suitable RAID controller to set up RAID on Windows 10. Access the BIOS or UEFI settings to adjust the RAID controller for your drive’s preferred RAID level. Afterward, Windows 10 will detect and utilize the configured RAID array.
Can I change my existing storage configuration to RAID in Windows 10?
Indeed, you have the option to convert your existing storage configuration into a RAID setup using Storage Spaces in Windows 10. However, this process will require deleting all data on the respective drives. Creating a backup of your data is recommended before proceeding with this modification.