Using a flash drive, also known as a USB flash drive, is a great way to transfer files and have an external storage device for your important documents. It is a small and portable device that plugs into the USB port on your computer, making it easy to use and carry around with you. In this blog post, our team will answer to the question – USB drive – how to use? This blog is the guide on how to use a USB flash drive.

Insert the Flash Drive into the USB Port
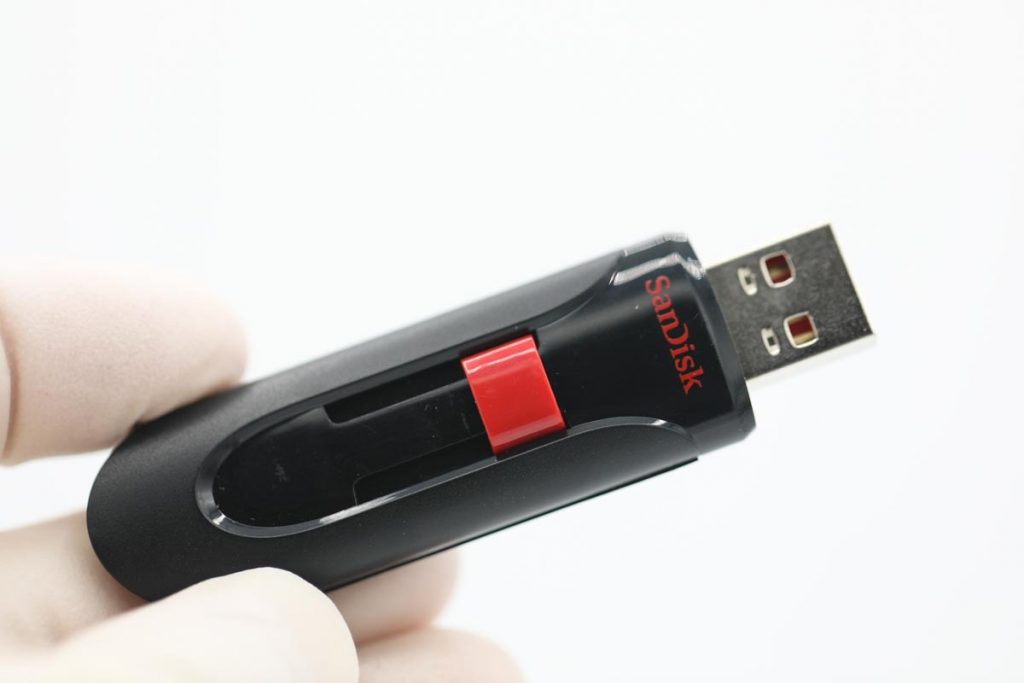
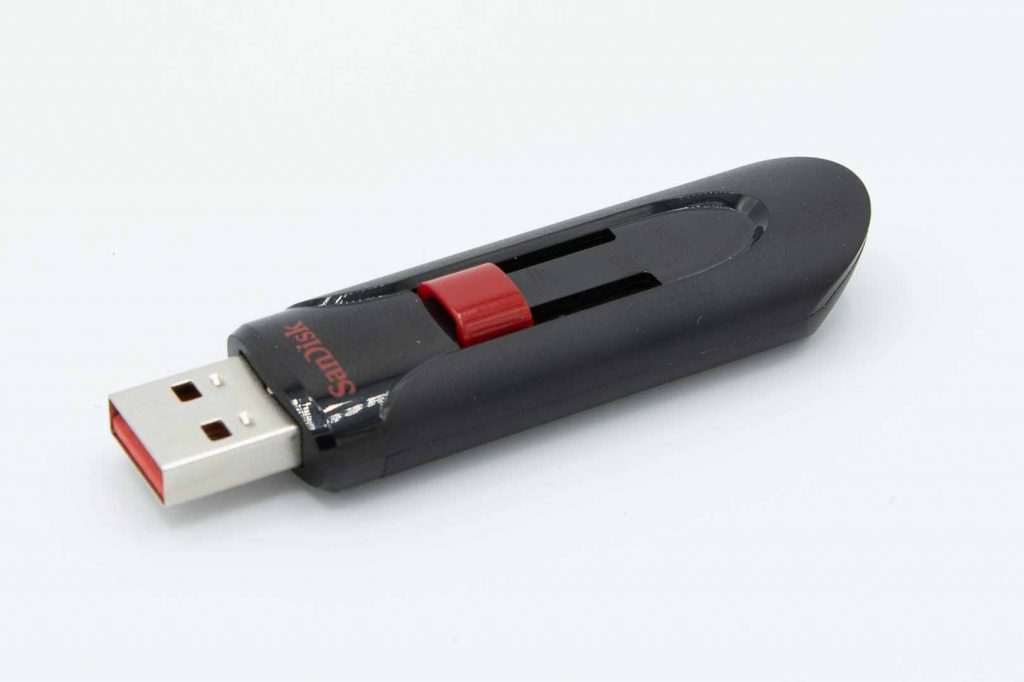
When inserting a flash drive into the USB port, it is important to make sure that you are inserting it correctly. USB flash drives are designed to be inserted one way, so if it does not fit, do not force it. Simply flip the flash drive over and try again.
It is also important to note that some computers may have multiple USB ports, so make sure that you are inserting the flash drive into the correct port. For example, on a desktop computer, the USB ports may be located on the back of the tower, so make sure to check there before trying the front USB ports.
When you insert the flash drive, your computer should recognize it and display a dialog box asking what you want to do with the drive. This dialog box may vary depending on your computer’s operating system, but it typically gives you options such as opening the drive in File Explorer or running a specific program.
If you do not see the dialog box, you can open File Explorer and look for the flash drive in the “This PC” section. It is important to note that if the flash drive is brand new or has not been used on your computer before, you may need to install drivers for the device.
In most cases, the drivers will be installed automatically when you plug in the flash drive, but if you encounter any issues, you can check the manufacturer’s website for driver downloads.
Open File Explorer and Find the File
When your flash drive is plugged into your Windows computer, it will be assigned a drive letter, typically starting from “D:”. To access the contents of the flash drive, you need to open File Explorer, which is a file management program that is built into most versions of the Windows operating system.
One way to open File Explorer when your flash drive works on the device, is to click on the folder icon on your taskbar, which is located at the bottom of your screen by default. Another way is to use the keyboard shortcut Windows key + E. This will open a new File Explorer window that displays the contents of your computer’s file system, including the flash drive you just inserted.
Once you have File Explorer open, you can navigate to the folder where the file you want to transfer is located. You can use the left-hand pane of File Explorer to navigate through the various folders on your computer, including the flash drive. Simply click on the folder icon for the flash drive to expand it and display its contents
Alternatively, you can use the search bar in the top-right corner of File Explorer to search for a specific file by name. Simply type in the name of the file you are looking for, and File Explorer will display all the matching files that it finds.
It’s important to note that some files may be hidden or located in system folders, which may require you to enable the “Show hidden files” and “Show system files” options in File Explorer.
To do this, click on the “View” tab at the top of the File Explorer window, and then click on the “Options” button. In the “Folder Options” dialog box that appears, click on the “View” tab and then scroll down until you find the “Show hidden files, folders, and drives” and “Hide protected operating system files (Recommended)” options. Uncheck the box next to “Hide protected operating system files (Recommended)” and click “Apply” and “OK” to save the changes.
Click and Drag the File to the Flash Drive
Clicking and dragging is a quick and easy way to transfer files from your computer to a flash drive. This method works with all types of files, including documents, photos, videos, and music files. You can also click and drag multiple files at once by selecting them all before dragging them to the flash drive.
To click and drag a file, first, click on the file you want to transfer to select it. You will know the file is selected when its icon is highlighted in blue. Next, hold down the left mouse button and drag the file to the flash drive icon in File Explorer. You can find the flash drive icon in the left-hand pane of File Explorer under the “This PC” section.

When you drag the file to the flash drive icon, you will see a tooltip that displays the name of the flash drive and the message “Copy to [flash drive name].” This indicates that the file will be copied to the flash drive when you release the left mouse button.
If you want to move the file instead of copying it, hold down the Shift key while you drag the file to the flash drive icon.
It is important to note that if you are transferring a large file or a large number of files, the transfer process may take some time. The transfer speed will depend on the size of the file(s) and the speed of the flash drive.
You can check the progress of the transfer by looking at the file transfer dialog box, which will appear in the bottom-right corner of your screen. Once the transfer is complete, you can safely eject the flash drive and remove it from your computer.
Eject the Flash Drive
Ejecting the flash drive is an important step to ensure that your files are safely transferred and that the flash drive is not damaged when you remove it from the USB port. When you eject the flash drive, your computer will ensure that all the files have been transferred to the industry and that no programs are still accessing it. This will prevent any data corruption or loss that can occur when files are still being transferred.
To eject the flash drive, right-click on its icon in File Explorer and select “Eject” from the menu. You can also eject the flash drive by clicking on the “Safely Remove Hardware” icon in the system tray and selecting the flash drive from the list of connected devices. Once you have selected “Eject,” you will see a notification on your screen indicating that it is safe to remove the flash drive. Only this way you can use a USB drive later without the risk of corruption.
You must never remove the flash drive from the USB port without ejecting it first. Removing the flash drive without ejecting it can cause data loss, corruption, or physical damage to the drive. Additionally, you should not eject the flash drive while files are still being transferred or while programs are still accessing the industry.
USB flash drive how to use guideline can be useful for people who are facing difficulties with external data storage. With just a few clicks, you can easily insert the USB connector into the USB port on your computer, find the file, and drag the file to the flash drive. By following these steps, you can ensure that copying files process is performed safely.
Freqeuently Asked Questions
How do I enable a flash drive on my computer?
Enabling a flash drive is as easy as plugging it into an available USB port on your computer. The system should automatically recognize the drive and make it available.
How do I view a flash drive?
Once the flash drive is connected, open the file explorer (Windows) or Finder (Mac). You’ll see the flash drive listed among the available drives or devices. Click on its icon to view the contents.
Why is my USB flash drive not showing up?
There could be several reasons for this problem. Try these troubleshooting steps:
a) Ensure the drive is correctly inserted.
b) Try the drive on a different USB port.
c) Check for driver updates.
d) Try the drive on another computer to rule out hardware issues.
Why USB Cannot detect Windows 10?
If your USB drive isn’t being detected on a Windows 10 computer, consider these solutions:
a) Restart your computer and reconnect the drive
b) Check if the USB port is functioning using another device.
c) Update USB drivers through the Device Manager.
d) If the drive is still not detected, it might be a hardware issue or compatibility trouble.